Tag Archives: serging

What does Cooking have to do with Sewing and Serging?

First off, I want to wish you a Happy New Year and I hope you are off to a great start in 2015! So far so good on this end J

I started the year with a mini-vacation up north. Although, the snow didn’t arrive until after the mini-vacation, which resulted in another mini-vacation at home, not all bad J

yes, I took this fuzzy photo and it's on the new years list to get better
yes, I took this fuzzy photo and it’s on the new years list to get better

I am not big into New Year’s resolutions, as I would hate to set myself up for failure – that being said I still have a very long list, as I do every year:  work out, eat healthier, go to bed early and get up early, take more time for friends and family, get organized, get rid of clutter, and on and on …… I have to ask, why not just take time each month and re-evaluate life – wouldn’t it be so much easier to try changing and improving on things one month at a time versus an entire year? What a novel thought, that ultimately has become my New Year’s Resolution!

Ripped_in_30_1024x1024

Resolutions #1: Get in Better Shape


To start, I bought Jillian Michaels ripped in 30 workout DVD and a slew of new workout clothes. You can’t work out properly without the proper clothing, right? (even if I am working out in my own living room … and yes, I bought them as I didn’t have time to sew them)

Day 1: REALLY?!? Have any of you tried this workout?!? I really thought I was in pretty good shape – she had no problem proving that different! First day, thought I would die in the middle (remember this only 30 minutes – longest 30 minutes of my life!)

Day 7: Let’s just say, this is going to be re-evaluated at the end of the month – as I am SO out of shape!  And thank heaven’s I can do this in my own house and no one is taping me!!!!  Oh – and by the way – I will not be offering before and after photos! J

IMG_9993

Resolution #2: Learn How to Cook


As many of you already know, cooking is not my forte. I am not ashamed of that, as those of you that have read my book already know, for the first years out of college – my custom apparel business was my main focus and the kitchen cabinets were only to be used for fabric storage  – they made excellent storage if I might add.  My last cooking attempt was 7 years ago, 3 days of it and it was catastrophic, so let’s give it a go in 2015. What the heck, don’t they call it the 7 year itch J

First, let me just say, I have the best husband ever! Winn, loves to cook and he is really good at it, so I am a bit spoiled. In order to not starve the man the death, I will attempt cooking while he is away:

IMG_9995

1st Recipe: Cooking Light Magazine – Parmesan and Pine Nut – Crusted Oven-Fried Chicken  (Winn’s up north ice fishing, perfect opportunity!)

Take 1: Spent 2 hours in the grocery store trying to find all the ingredients, got home and was way too tired to attempt.

Result: Dinner served is cottage cheese and triscuits.

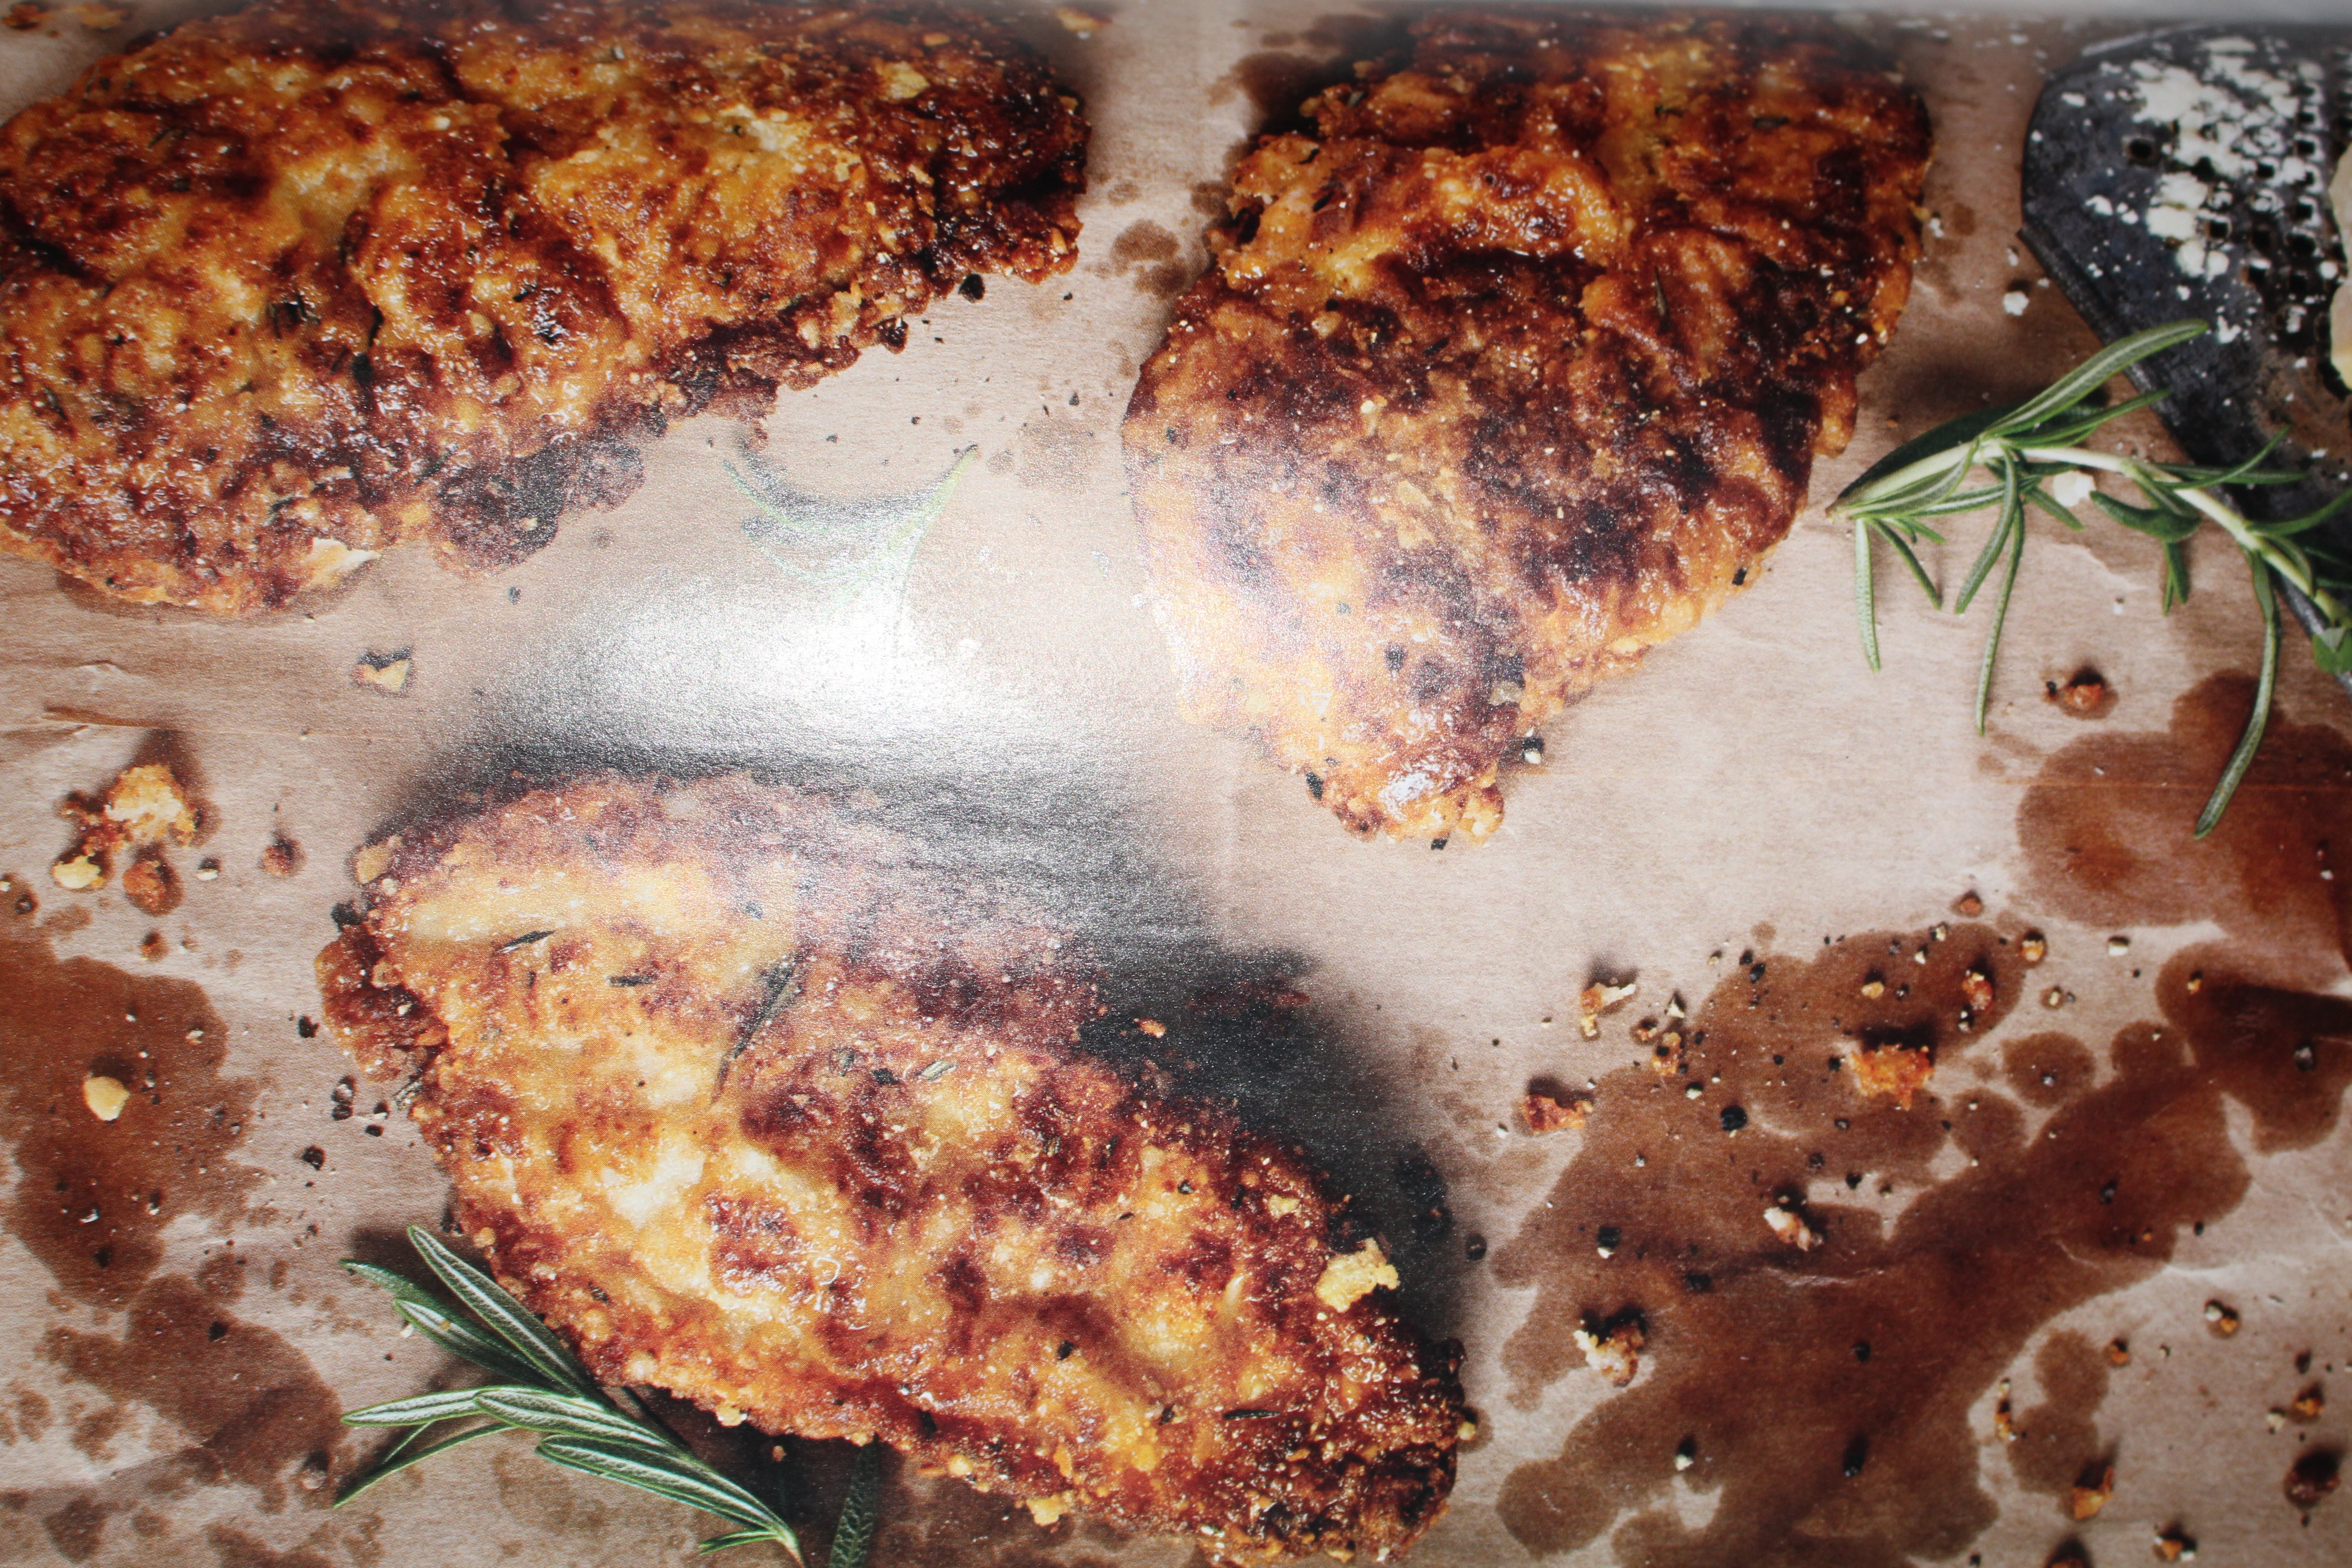
Take 2: Ready to go … everything went well until the “sauté the chicken for 3 minutes” and mine turned black instantly!

011215_0028_WhatdoesCoo2.jpg

I will just give you a hint, Tyler (the cat) is more like a dog and love’s people food.  Last weekend, my husbands chicken dish:

learn to cook 101 16

My dish?  He snubbed, in the kindest way:

learn to cook 101 15

In fact, if it wasn’t for Ranch dressing (which makes anything taste good) Tyler’s dinner was even looking a bit enticing.

learn to cook 101 14

Cooking is just like Sewing!


This is when I realized cooking is so much like sewing! When I teach a class, I assume you know how to do certain things, just like these recipes:

  • 2 TBSP Pine nuts, toasted (for us beginners, how do you toast these – in the toaster LOL J )
  • Sauté for 3 minutes or until brown – well, mine turned black so fast, there wasn’t a brown option! (Maybe the author had a better quality pan?)
  • Cook for 10 minutes or until chicken is done: what if my oven is hotter than yours? What if I use convection cook? 

learn to cook 101 12

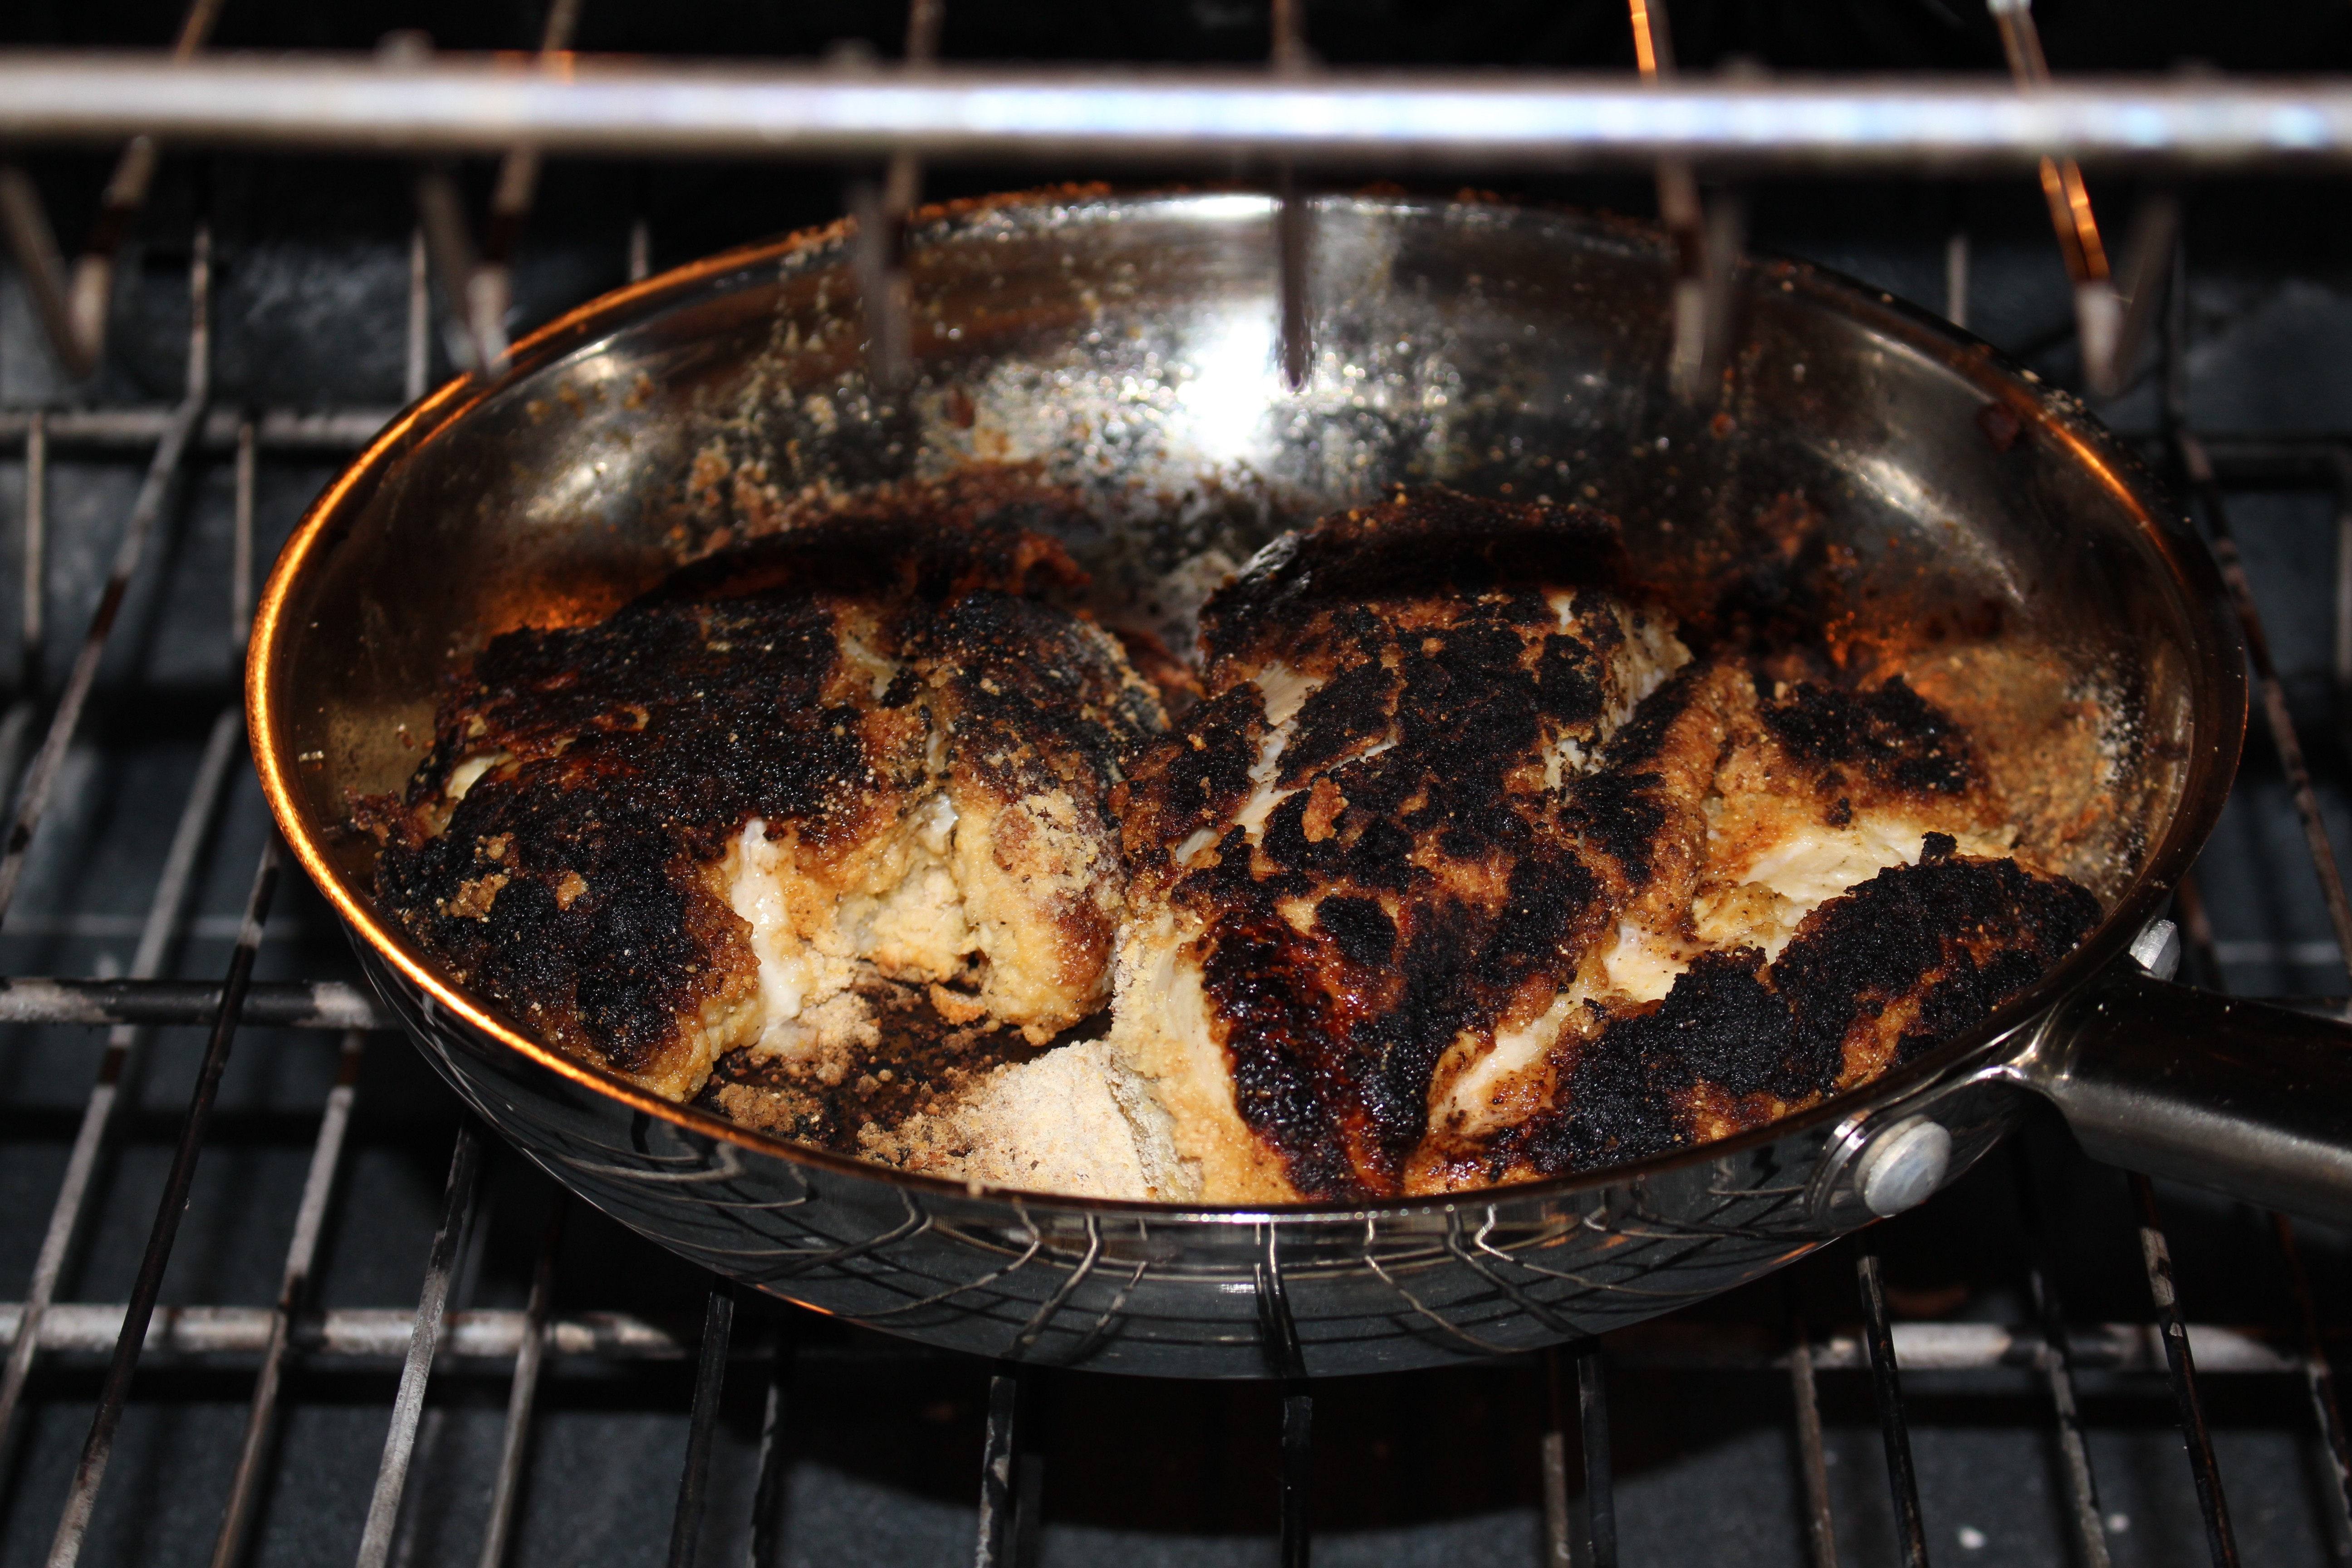
As I am pulling a blackened chicken breast out of the oven, two things occurred to me.  Sewer’s have this same problem. For example: interfacing – What is it? What kind? Where do I put it? How do I press it in place?

I can just picture a new sewer in Joann fabrics staring at the rack of interfacing, as I am in the grocery store staring at the spice rack – totally lost!

And then the comparison of sewing machines and sergers to stoves and ovens. They are all different. I read the recipe and followed by the book, but maybe the person writing it has a gas stove, did they bake with a convection oven, or were they using a different pan?

After botching my dinner, I sat down to answer my online class questions and had to laugh when I got to one of my serging class questions: my gathering foot doesn’t gather like you showed. WOW! This is exactly what I am experiencing with cooking! My serger is different and all serger’s don’t offer the same stitch quality or feet accessories.  See where I am going? There are so many factors to creative learning.

learn to cook

To improve my cooking, I have enrolled in Brendan McDermott’s Essential Cooking Techniques Class. I will let you know how it goes – no pressure Brendan, LOL!

And to help my fellow beginner sewers, I have fun plans for you this year! I can’t tell you them all yet, but my blog will feature a “Back to the Basics” section to help you learn the basics of sewing as I am learning to cook! Let’s learn together J For my advanced sewing fans, don’t worry, I have a lot in store for you too!

ISE 609-2 PIC 2

Wardrobe Challenge


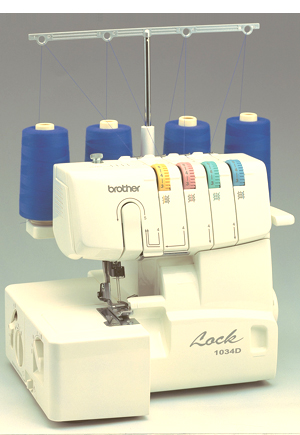
How can I ever thank you all for participating in my wardrobe challenge of 2014, the response in email, flickr, and pinterest was phenomenal. My wardrobe challenge started with the idea to inspire you to fill your closet with clothes sewn by you! The best part was getting sponsors to offer great gifts to inspire you even further: Brother, WAWAK sewing, Threads and SewStylish Magazines, Coats & Clark, It’s Sew Easy Tv, and myself. As you know, I extended the deadlines into 2015 for many reasons and look forward to awarding the final winners. This contest was an inspiration of mine to get you all to fill your closets with your own sewn clothes! I will be announcing a slew of past winners this week and giving you the last challenge for the grand prize, don’t worry the last challenge is the easiest J

Happy New Year! Can you share some of your resolutions for 2015? I would love to hear J


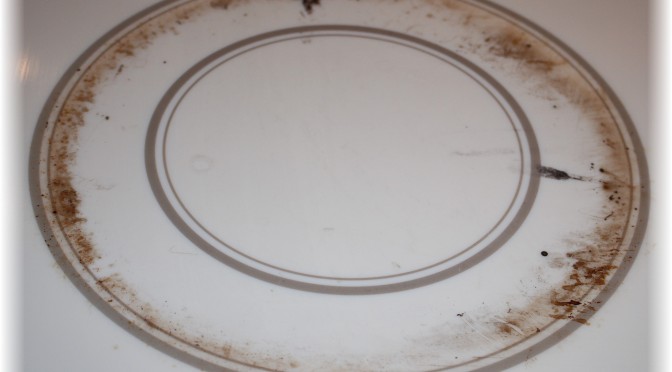
And, any tips on cleaning this pan?!?

xoxo


Angela Wolf

badge 2015

Creative Serging with Crochet Thread – Flatlock Stitching!

A little creative serging! I mentioned I am finishing up a serging book. The book has challenged me to play with new threads, new stitches, new serging feet, and more. I wanted to share a quick serging stitch that you might find useful for restyling or adding embellishment to one of your outfits.

How to sew with creative serging -  Angela Wolf

This is a 3-thread flatlock stitch with a decorative crochet thread in the upper looper.   The left needle and lower looper have a similar color polyester thread.  The photo above shows the front of the flatlock stitch and the backside.  The backside looks like a ladder stitch.  (the peach thread is just the serged edge of the seam).

How to sew with creative serging - Angela Wolf

I started with a basic gored skirt.  The front has 2 seams and after I finished flatlocking those two seams I decided to add embellishment to the center front.  So the center front really does not have a seam.  This would be a great way to create unique fabric!

How to sew a creative serged seam with Angela Wolf

Here is the back view.  Again there are 2 seams on each side back and this time there is a real seam down the center back with a hidden zip. In order for this stitching to look even, because of the zipper, I stitched the flat-felled embellishment down the edge of each center back seam, then added the zipper and closed the seam.  That part got a little tricky and you can see the stitches are not perfectly even.  I haven’t decided if I am going to rip it out and start again or hope nobody is looking at my tush that closely to notice 🙂

Stitch Tutorial:

  • Set your serger up for a 3-thread overlock – I will be using the Brother Project Runway 5434PRW and the standard setting for the needle and looper tensions are 4.  When I give you new tension numbers you can compare this with your machine.  If you are serging on the Babylock air-threading serger set up your serger for the 2-thread flatlock – wide.
  • Thread the upper looper (or the only looper for the 2-thread flatlock) with a decorative thread.  Use standard poly serging thread in the needle and lower looper.


crochet thread wawal
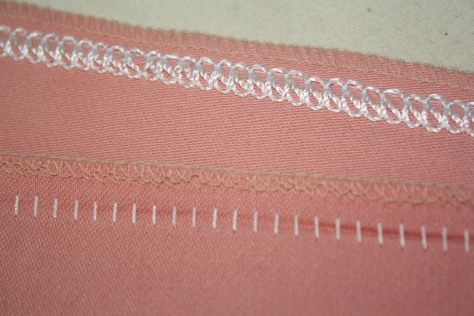
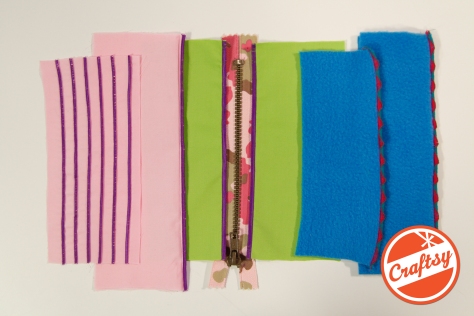
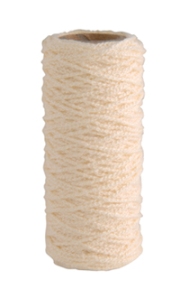
Decorative Thread Ideas:


Get the idea –  be creative!


Next, there are a few changes to the serger settings:

Stitch Width: 5mm

Stitch Length: 2-4mm

Needle Tension:  Decrease to 0 -3 (remember my standard setting is 4 so adjust for your serger)

Upper Looper Tension:  Decrease  to 2 – 3

Lower Looper Tension: Increase to 6 – 9

Disengage the knife

These setting serve as a guide.  It will depend on the fabric and thread you end up serging with.

Blind Hem Stitch Foot

See if you have a Blind Hem Foot, if not you can use a standard foot.

There is a setting on the foot that moves to the right and left, allowing the needle to pierce more or less of the fabric.  Test the stitch on your fabric to determine the setting.

Fold the fabric in half or if you are embellishing a seam,  fold along the seam line.   Align the fabric along the shield on the blind hem foot (if using a standard foot, mark a spot to align with).

Flat lock stitching with Angela Wolf

The idea is for the needle to pierce the fabric –  half the stitch is on the fabric and half is off the fabric.  In fact the stitches look really messy coming out of the serger!

flat lock stitching with angela wolf

Stretch out the folded fabric to lie flat and press.

flat lock stitching with Angela Wolf

Pretty simple, but so fun!  Have you ever tried this before?  I would love some more ideas for decorative threads or yarns to use with this stitch.

wawak brother serger 1034D
Sale on Brother Serger at http://www.wawak.com

Today is officially the end of National Serging month, did any of you pick up a good deal on a serger?

If you are thinking of adding a basic serger to the sewing room, really inexpensively, take a look at this Brother 1034D – on sale for $217 and free shipping!  I had to double-check that, kind of thought it was a misprint  🙂  I have no idea how long the sale is on for or how many are in stock, but that is a great deal.

I will post March’s winners tomorrow evening.  Don’t forget to get April’s photos posted on Flickr and share your pinterest board before Thursday!  Good luck everyone 🙂

Looking for more creative serging ideas?  Join my on Craftsy with 50% OFF today!
Looking for more creative serging ideas? Join my online class Creative Serging – Beyond the Basics. Click here to get 50% OFF today!

xoxo

Angela Wolf


Simply Serged! April’s Wardrobe Challenge How to Sew Simple Apparel

April wardrobe challenge short

As we plug along with the wardrobe challenge, last month offered a chance for sewing designer jeans.  Jeans have become a staple in many of our wardrobes and after you get the hang of the fitting (I still have a few blog posts coming to help) and sewing techniques, jeans can really be fun to sew!  Taking in consideration that jeans can take a while to finish, I am adding an ongoing monthly prize for the best jeans on the Wardrobe Challenge flickr group!  I know many of you mentioned you were not finished and others might join the wardrobe challenge throughout the year – jeans are my favorite and now you can win each month by adding a new pair of jeans 🙂

angela wolf 1003

Onto April’s Challenge – Simply Serged!

This challenge is to come up with fashionable apparel that is quick and easy to finish, yet doesn’t look it.  I am a little selfish on this challenge as I am trying to finish my new serging book (available next spring) and if you all are working on serged outfits, I thought that would inspire me to finish faster 🙂  Also, this month is National Serging Month – not sure what that really means, except you will probably get a good deal on buying a serger if you are in the market for one. 🙂   The serger offers so much more than finishing seams and after sewing jeans or a couture jacket, it is so nice to jump on the serger and finish a silk top in less than an hour!  Take a look at this top:

The Angel Skinny Jean  #AW4212    Angela Wolf

Fabric:  Silk Charmeuse    Time: cut to finish 1 hour 30 minutes

Stitches: 3-thread overlock, coversitch, narrow rolled hem

This is just one example, but I will try to include some of my favorite creative stitches throughout the month.  I just received my new order from WAWAK Sewing  with a batch of thread.  I am trying out new ideas for the serger … I can hardly wait to test them and let you know the results!

Don’t have a serger?  Well, now is the time to buy one, but if you are not quite ready for one you can still participate in the wardrobe challenge on Pinterest.  I am still offering a prize for jeans on the Flickr group and you can still sew simple garments adding to your overall wardrobe.

wardrobe challenge sponsors.png2

Make sure to say Thanks and Like the sponsors pages on Facebook:  Brother,  Threads Magazine, Sew Stylish Magazine, WAWAK Sewing, Coats & Clark, It’s Sew Easy TV, and me 🙂

That’s all for now, onto laying out my fabrics.   Are you enjoying the challenge so far?

Cheers & Happy Serging,

signature


Pintucking with a Serger / Overlock Machine

angela wolf serging samples5craftsy blog angela wolfI am having so much fun finding ways to use my serger, more than simply finishing the edges in my garments!  With over 5,000 students in the Craftsy class Creative Serging – Beyond the Basics , many of you are already expanding your serger use.  I was thrilled to see Craftsy posted a few of my videos on YouTube … below you will see how to add pintucking.  A great embellishment on home dec and apparel.  The video shows you how to change the settings on the Brother Project Runway Serger 5234PRW (although it doesn’t show you how to remove the stitch finger, so check your manual and don’t forget that part!)  In fact, no matter what serger you use, pull out the manual and set the serger to a rolled or narrow hem.  I am showing you how to do the pintucking using a blindhem foot.  If you don’t have that foot, a standard foot works fine.  Just serge straight 🙂

Speaking of manuals, lets take a vote … how many of you have read through your entire serger manual?   I must confess, until last year I only scanned the pages referring to threading 🙂  Enjoy xoxo Angela

Elastic Thread Ruching on a Coverstitch plus FREE SERGING CLASS!

Ruching with Elastic Thread on a Serger / Coverstitch Machineelastic ruching chainstitch angela wolf serging overlock6

Loose flowing tops are right on trend right now, here is a quick way to add a little flair and fit with one of my favorite serging techniques; ruching with elastic thread.  Add the ruching to the sleeve edge, hem or neckline. This is so cute and really easy!  This ruching can be done on a sewing machine by winding the elastic thread in the bobbin, threading the machine with any silk, cotton, or polyester thread, and stitch with a narrow zigzag. What about serging with the chainstitch?  The chainstitch is found on coverstitch machines or sergers with the added coverstitch function.

elastic ruching chainstitch angela wolf serging overlock4

SET UP THE SERGER / COVERSTITCH MACHINE    For this sample I am using my  Brother 1034D 3 or 4 Thread Serger with Easy Lay In Threading with Differential Feed
.  Thread the machine like you would for a chainstitch:  use thread in the needle and elastic thread in the looper.  Be patient with the elastic thread, but it will go through the machine just fine 🙂         

Adjust the tension:

  • Loosen the needle tension  (loosen by 2 notches)
  • Tighten the looper tension (start by tightening 1 notch)

When adjusting the tensions, my coverstitch has a standard setting at 4 –  so adjust the tension on your machine accordingly.  Then simply run the edge of the fabric through the serger.  The photo’s below show you the front and back side of the first row of stitching.

Elastic Ruching with a Coverstitch Mahcine

Back side of elastic ruching

elastic ruching chainstitch angela wolf serging overlock3

Put the fabric back in the machine, line up the previous row of stitching with the edge of the presser foot and stitch.

elastic ruching chainstitch angela wolf serging overlock5

elastic ruching chainstitch angela wolf serging overlock6

That it! I usually ruch 2 – 6 rows depending on the design.  Another idea is to ruch the waist on a skirt – the elastic ruching makes a great waistband and then you wear the waist high or low.  I will dig up a photo of my silk bathing suit cover up that is sewn like this.

FREE SERGING CLASS GIVEAWAY!

Speaking of using a coverstitch and overlock machine – I have a class on Craftsy called Creative Serging – Beyond the basics.  I am giving away a FREE CLASS to one lucky reader. All you have to do is leave a comment below telling me why you would like to take the free class.  Click over and “‘like” my facebook page and you will get 2 entries.  If you leave a comment on the facebook page you get an extra entry as well (that’s 3 entries total :)).  One name will be drawn randomly on August 1st.  I know many of you are already in my class as we are just under 5,000 students, awesome!  For those of you that are already enjoying the class, leave a comment as to what you like most about the class and I will include you in the next giveaway (trust me, it will be good :))

If you don’t want to wait for the drawing, here is a coupon for big savings on the class.  Good luck!!!!!!   Cheers 🙂  Angela

creative serging angela wolf