
 I love sweaters and shawls, especially since I am always cold in the air-conditioned restaurants (not that we have needed air conditioning in Michigan this summer!). Thinking of the wardrobe challenge, sweaters are one of the items that I end up buying. Yes I do know how to crochet, yet trim on a jacket is about as far as that usually ends up. A small knitting machine sits in the corner of the studio (on my bucket list to learn how to use 🙂 ).
 I was recently sewing a fringe skirt and the tweed scraps falling on the floor reminded me of meeting a women wearing a really cute, long, loosely woven (sweater looking) vest. It was at the annual conference for ASDP, so I had to ask the question that only sewer’s are allowed to ask each other “did you make that?”. She had indeed! I was really intrigued when she mentioned using water-soluble stabilizer and scraps from her last sewing project – yes, scraps!

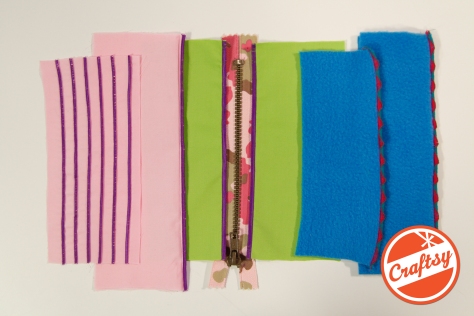
Below is an example of using scraps from my tweed skirt:


Supplies needed:
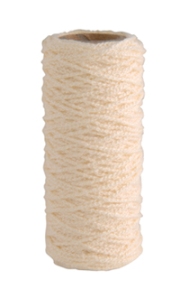
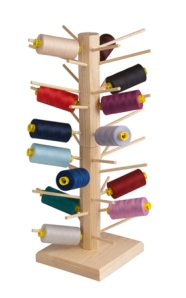
- Decorative Yarn, tweed fabric threads, or other scraps
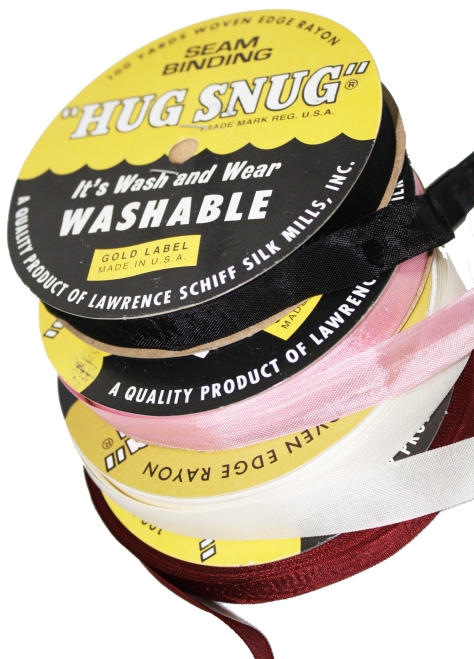
- Thread in a coordinating color
- Water-soluble stabilizer
- Pins
- Fabric marking pen (optional)
![]()
NOTE: WAWAK sewing has offered my readers a discount for July – yeah!
Purchase a minimum of $30 and receive 10% off your entire order – Use coupon code WAB714 when checking out (expires July 31st) Thank them when you order, they are the best! :))

- Lay out one layer of water-soluble stabilizer (54″ for a scarf)
- Randomly place yarn, scraps, hairy yarn, etc.
- Place another layer of water-soluble stabilizer (same length as the first piece) on top of the yarns
- Using long pins, pin through all the layers

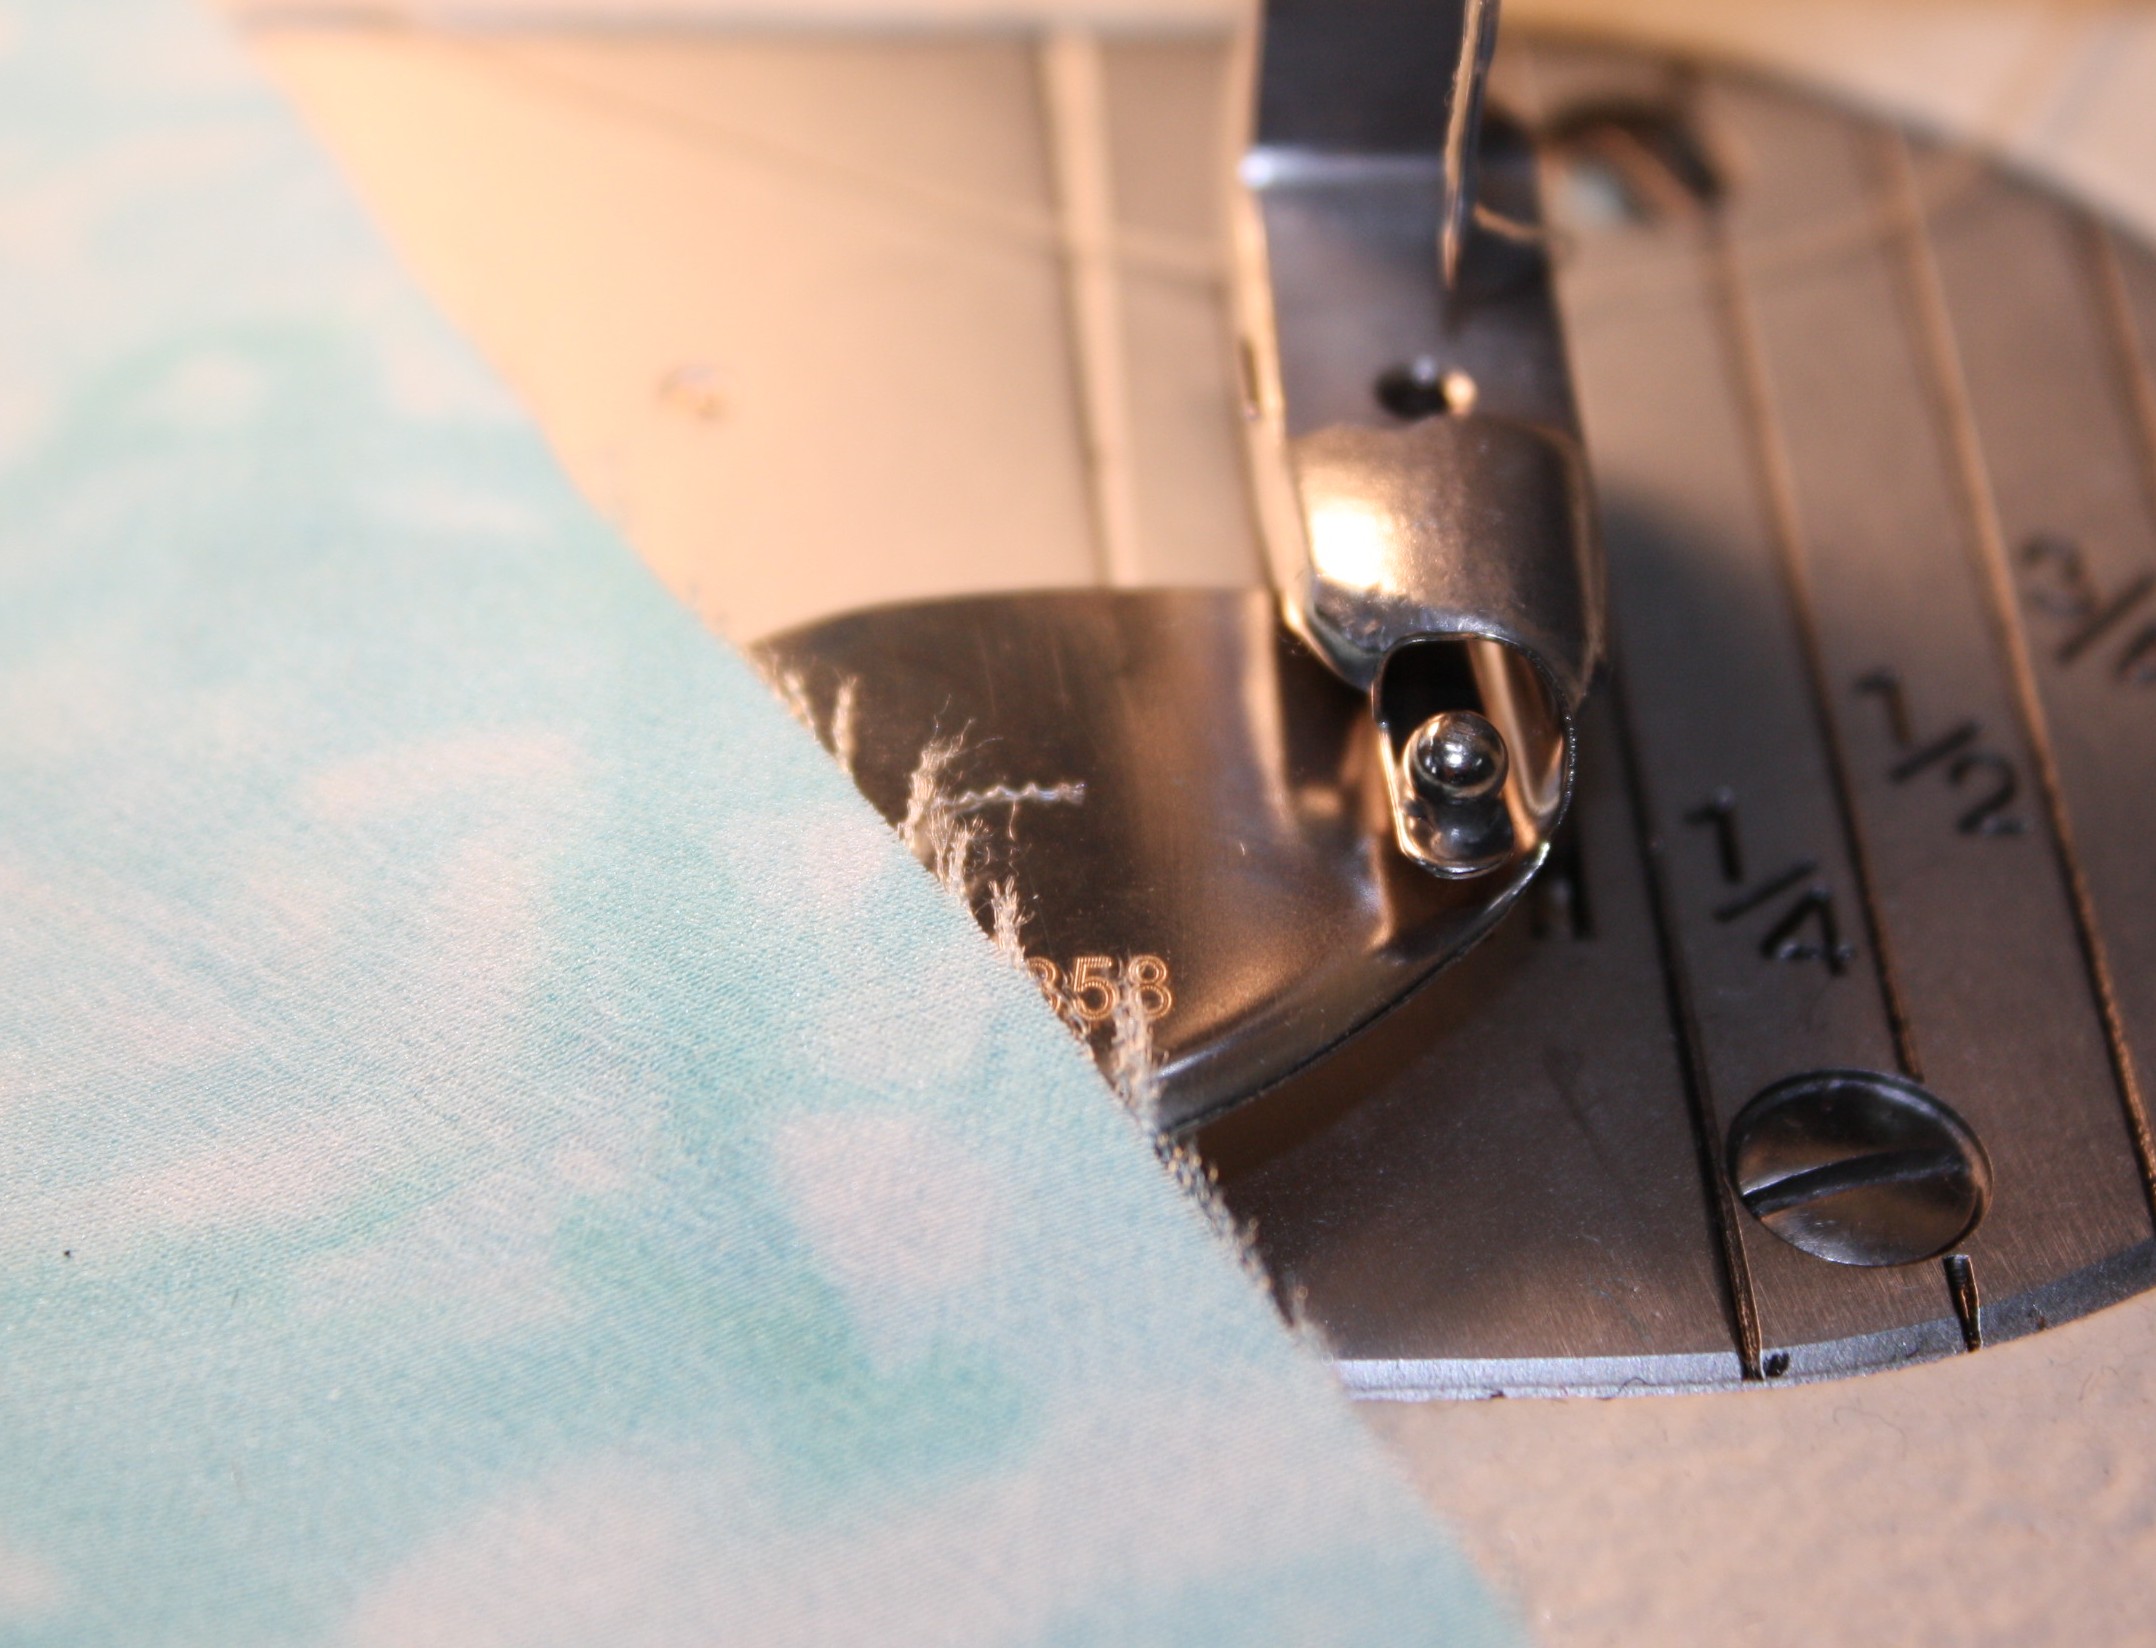
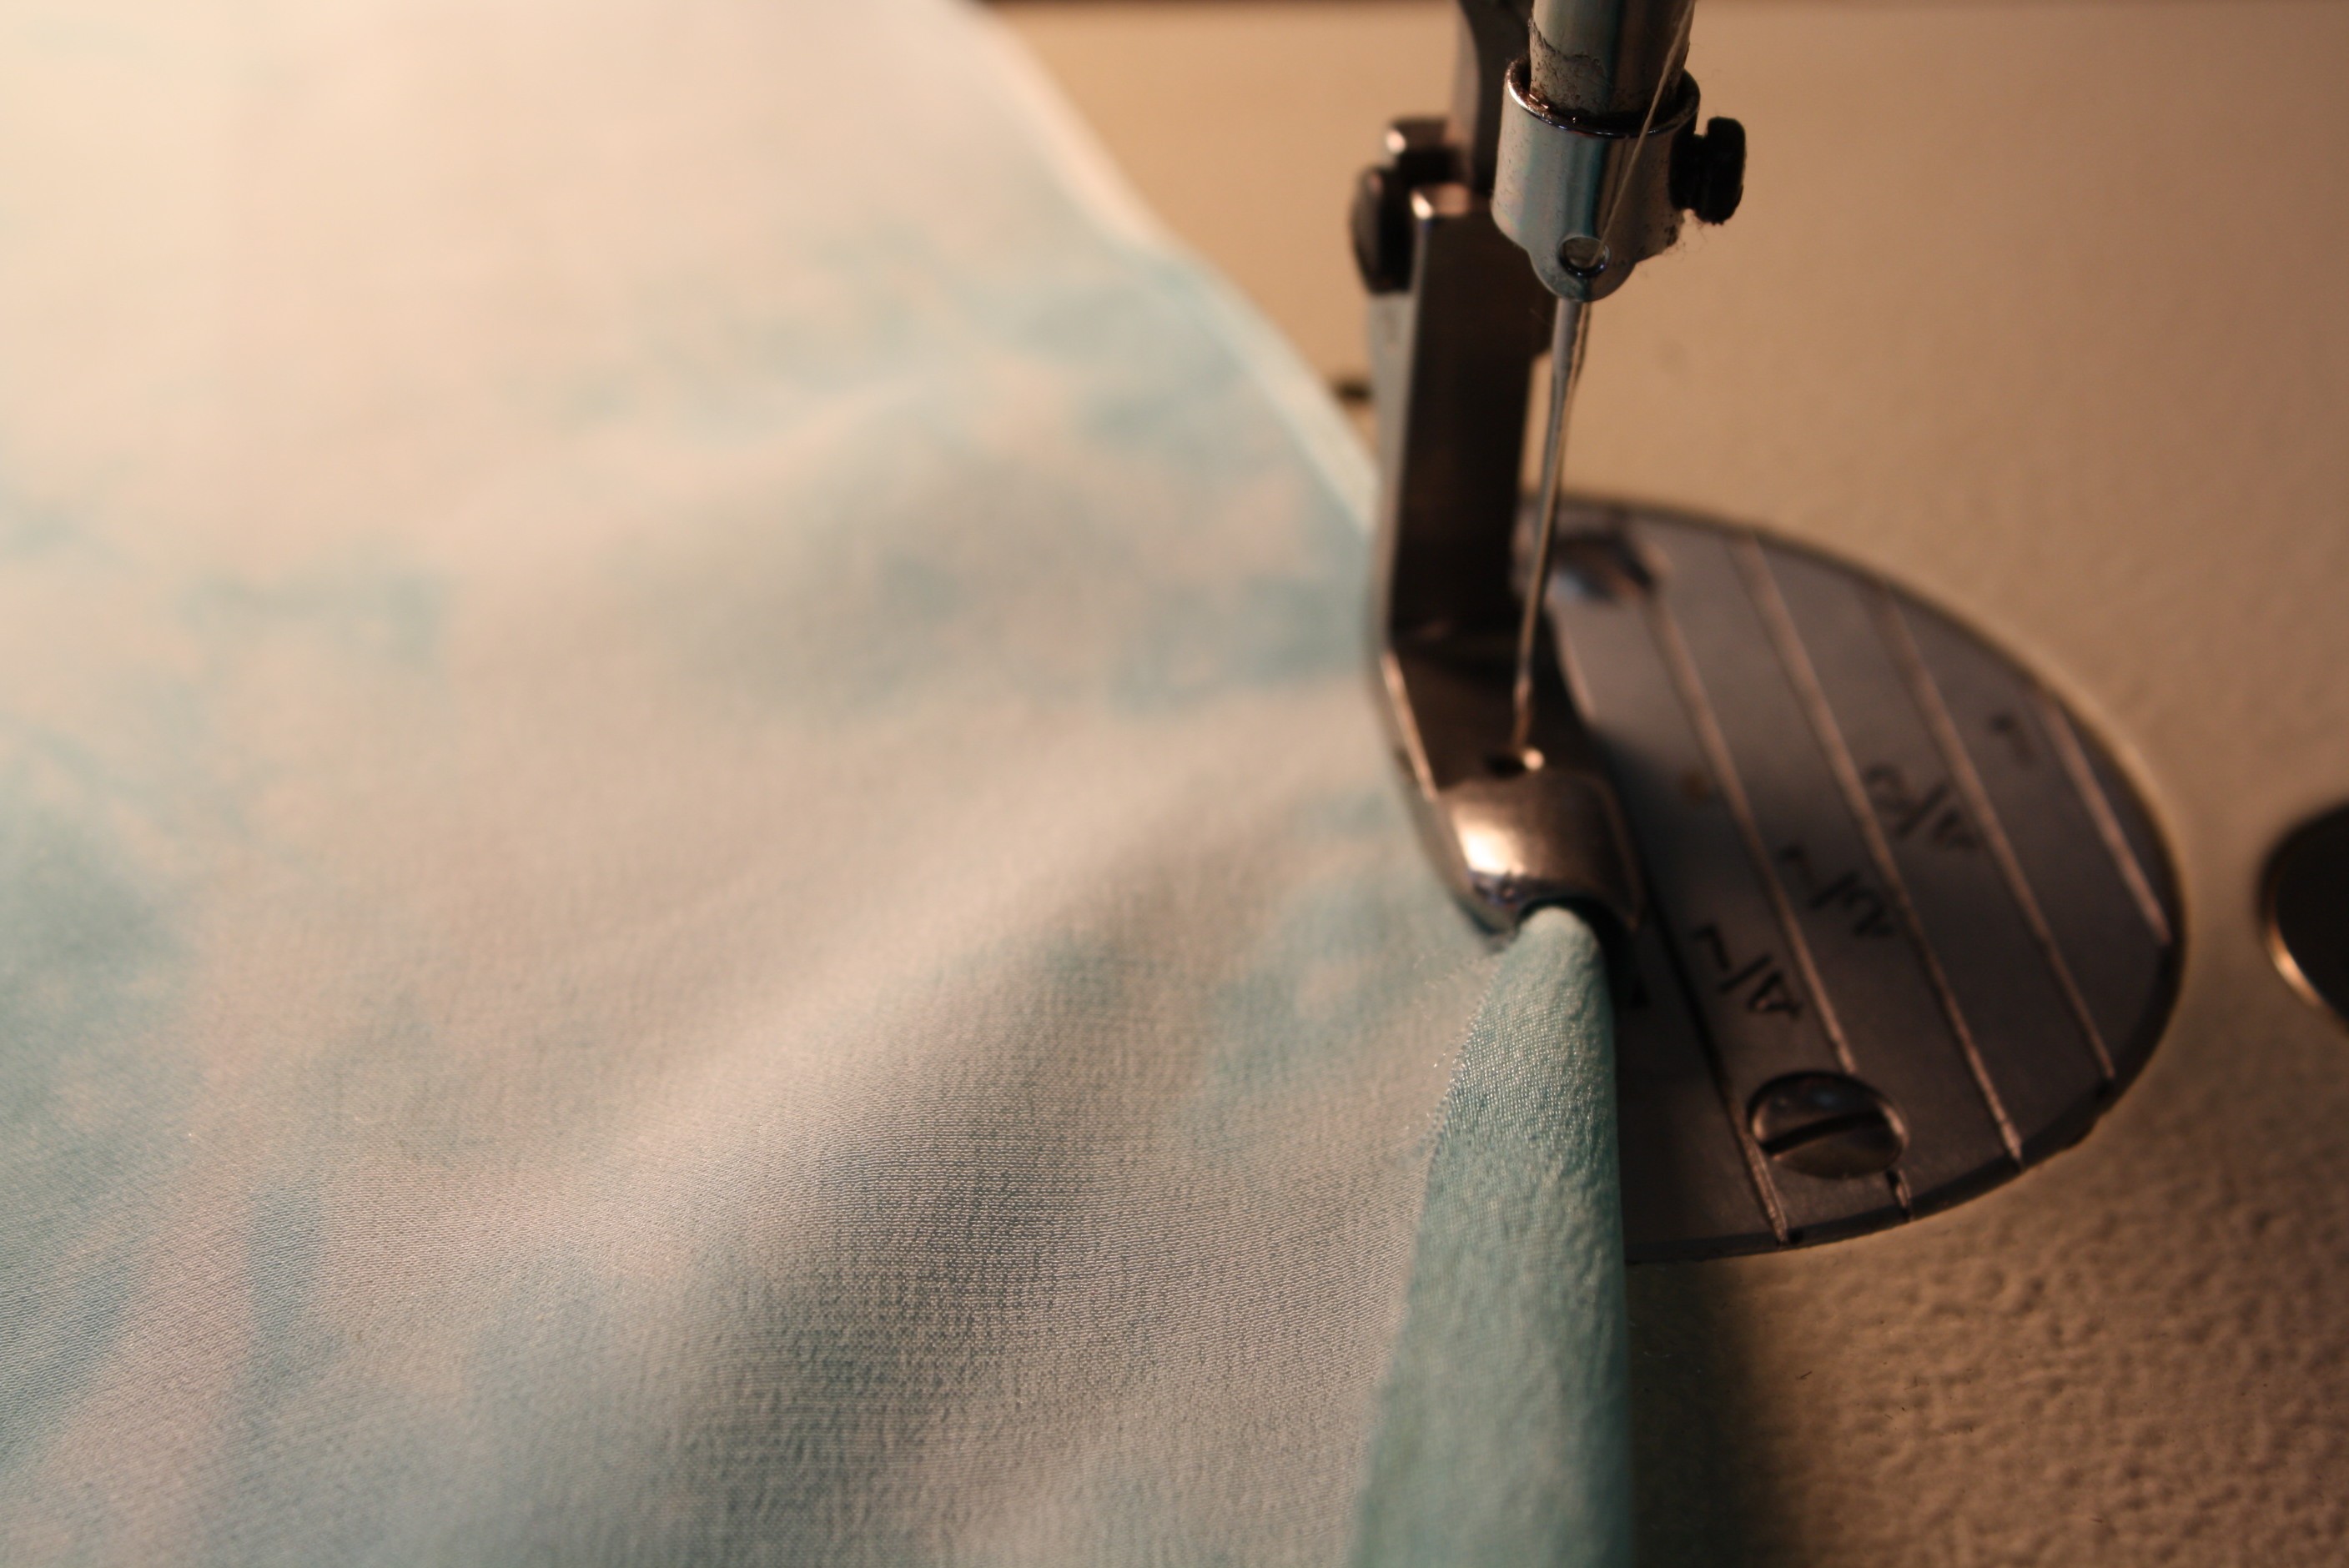
- Starting at one end, stitch down the center of the stabilizer, stitching through all the layers. Be careful not to sew through any pins, stitch all the way to the end. (Draw a straight line down the center if you need something to follow).
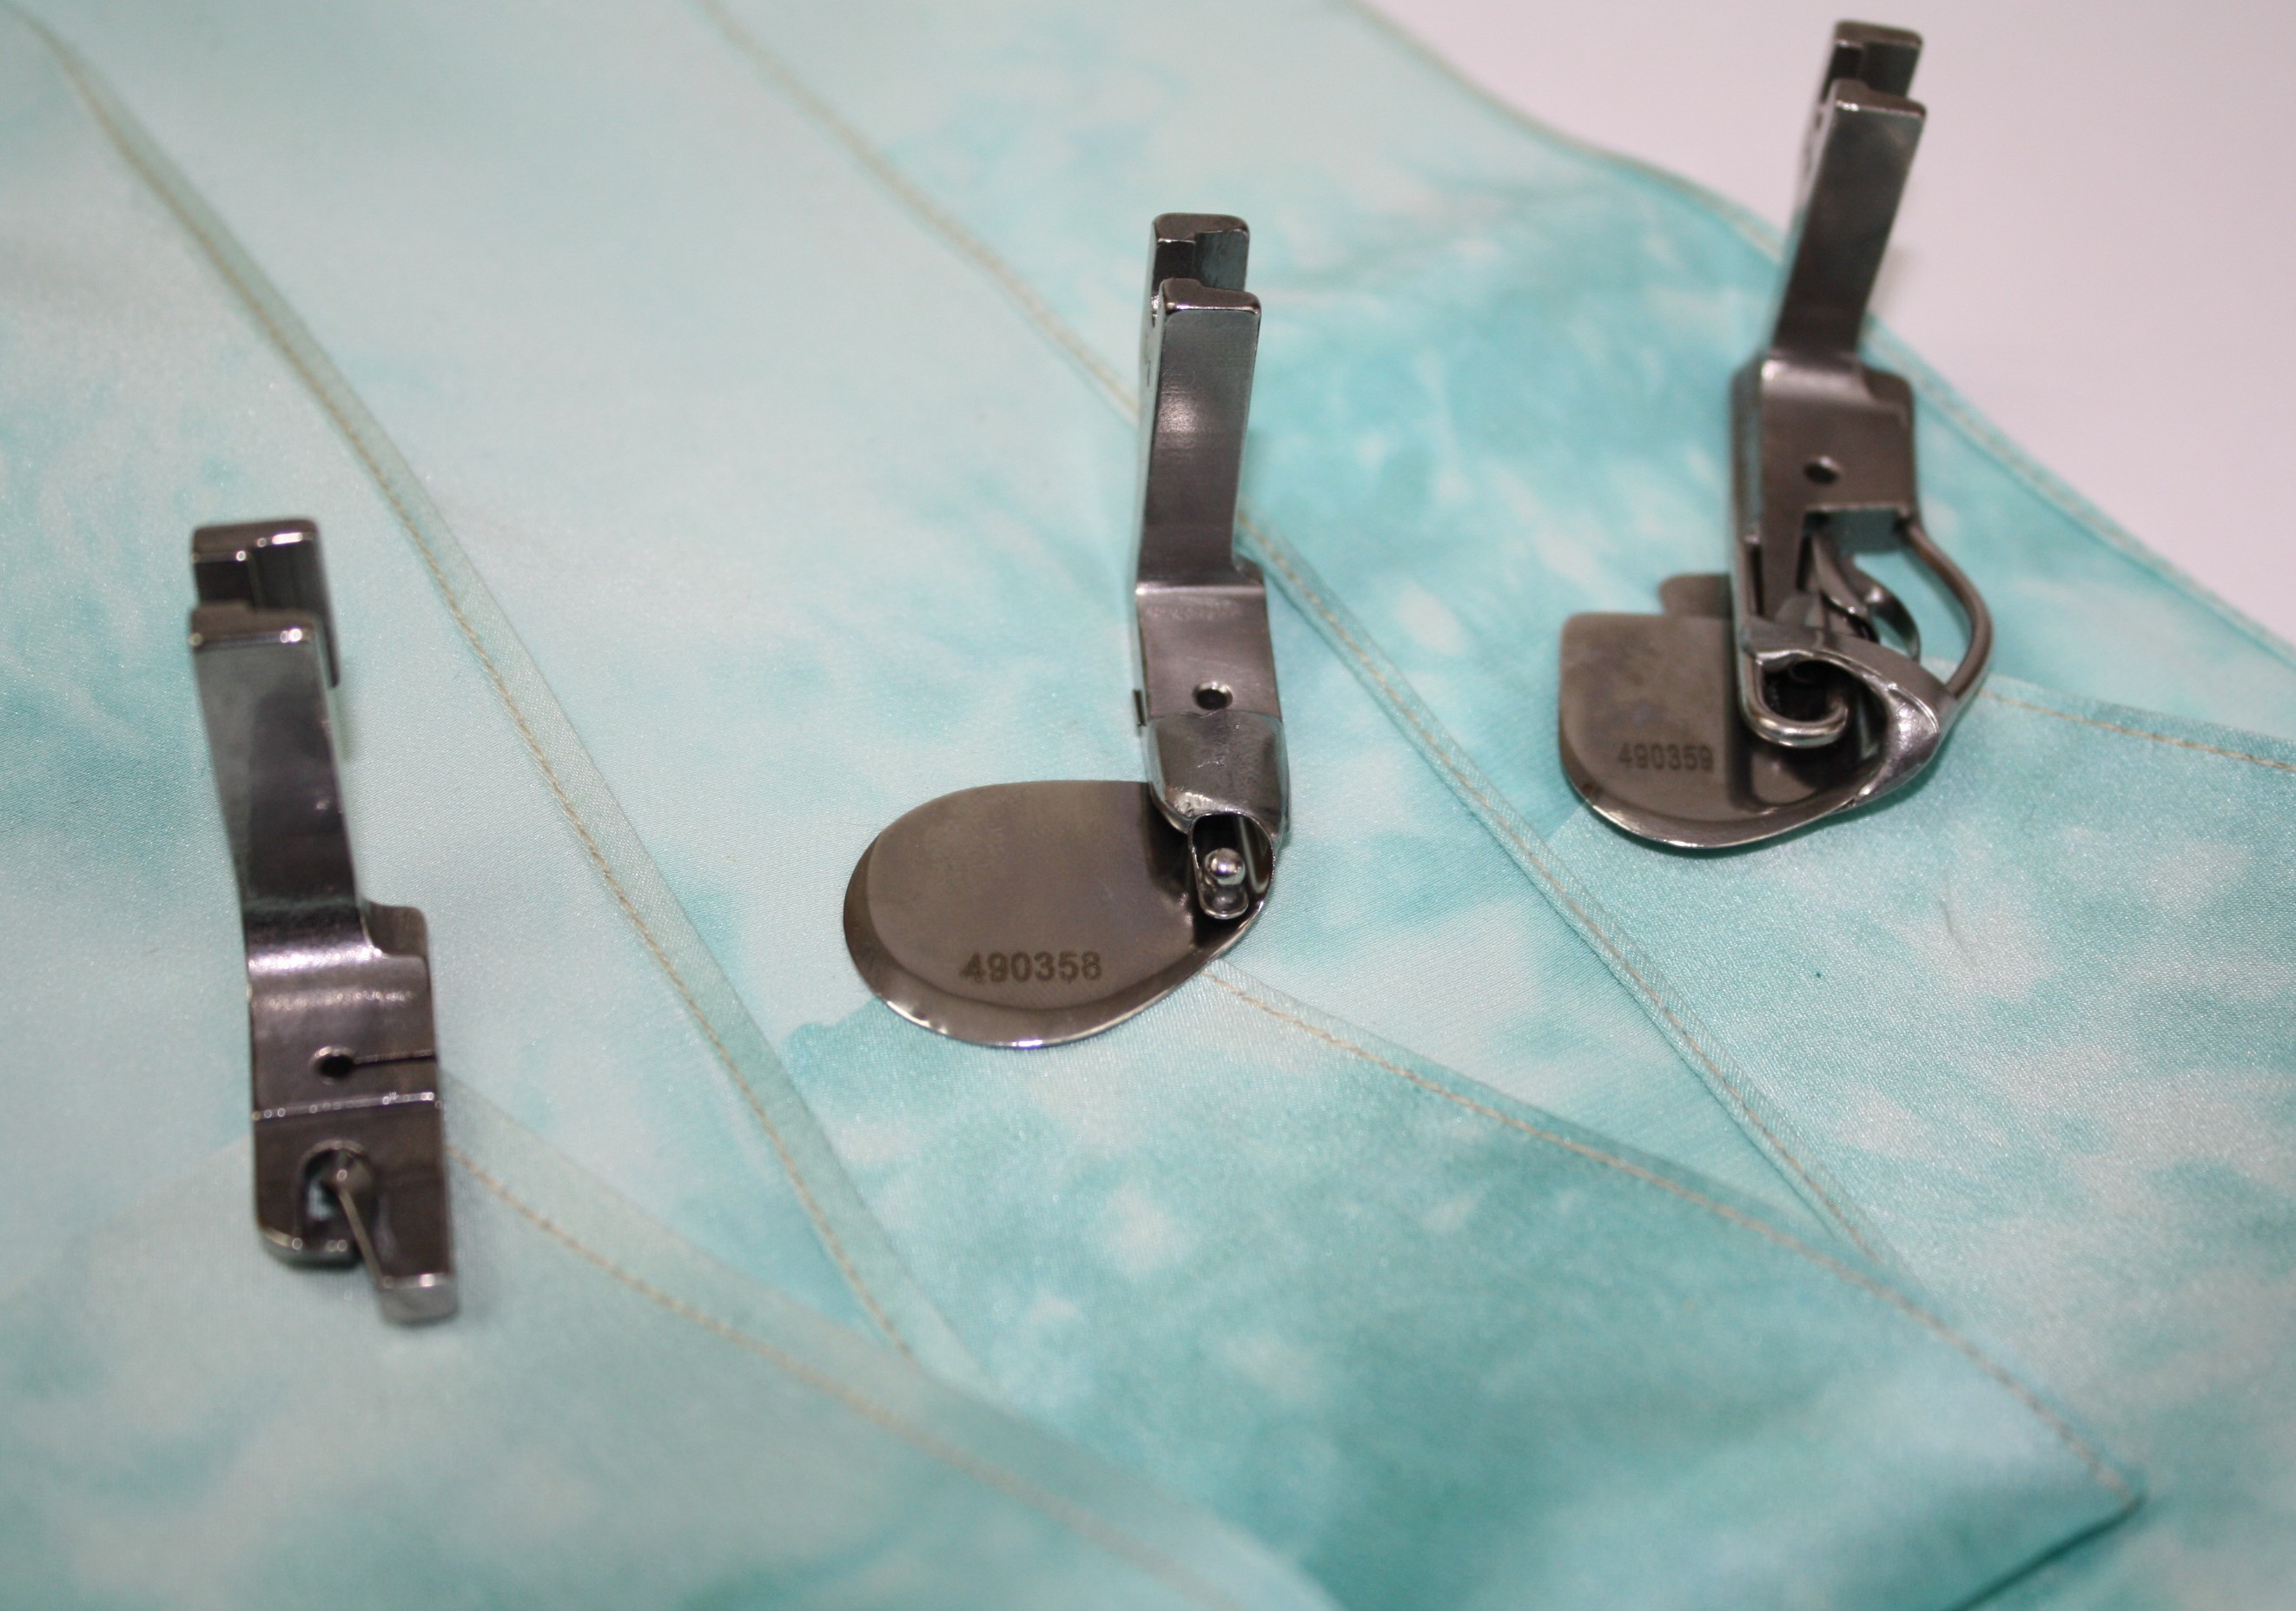
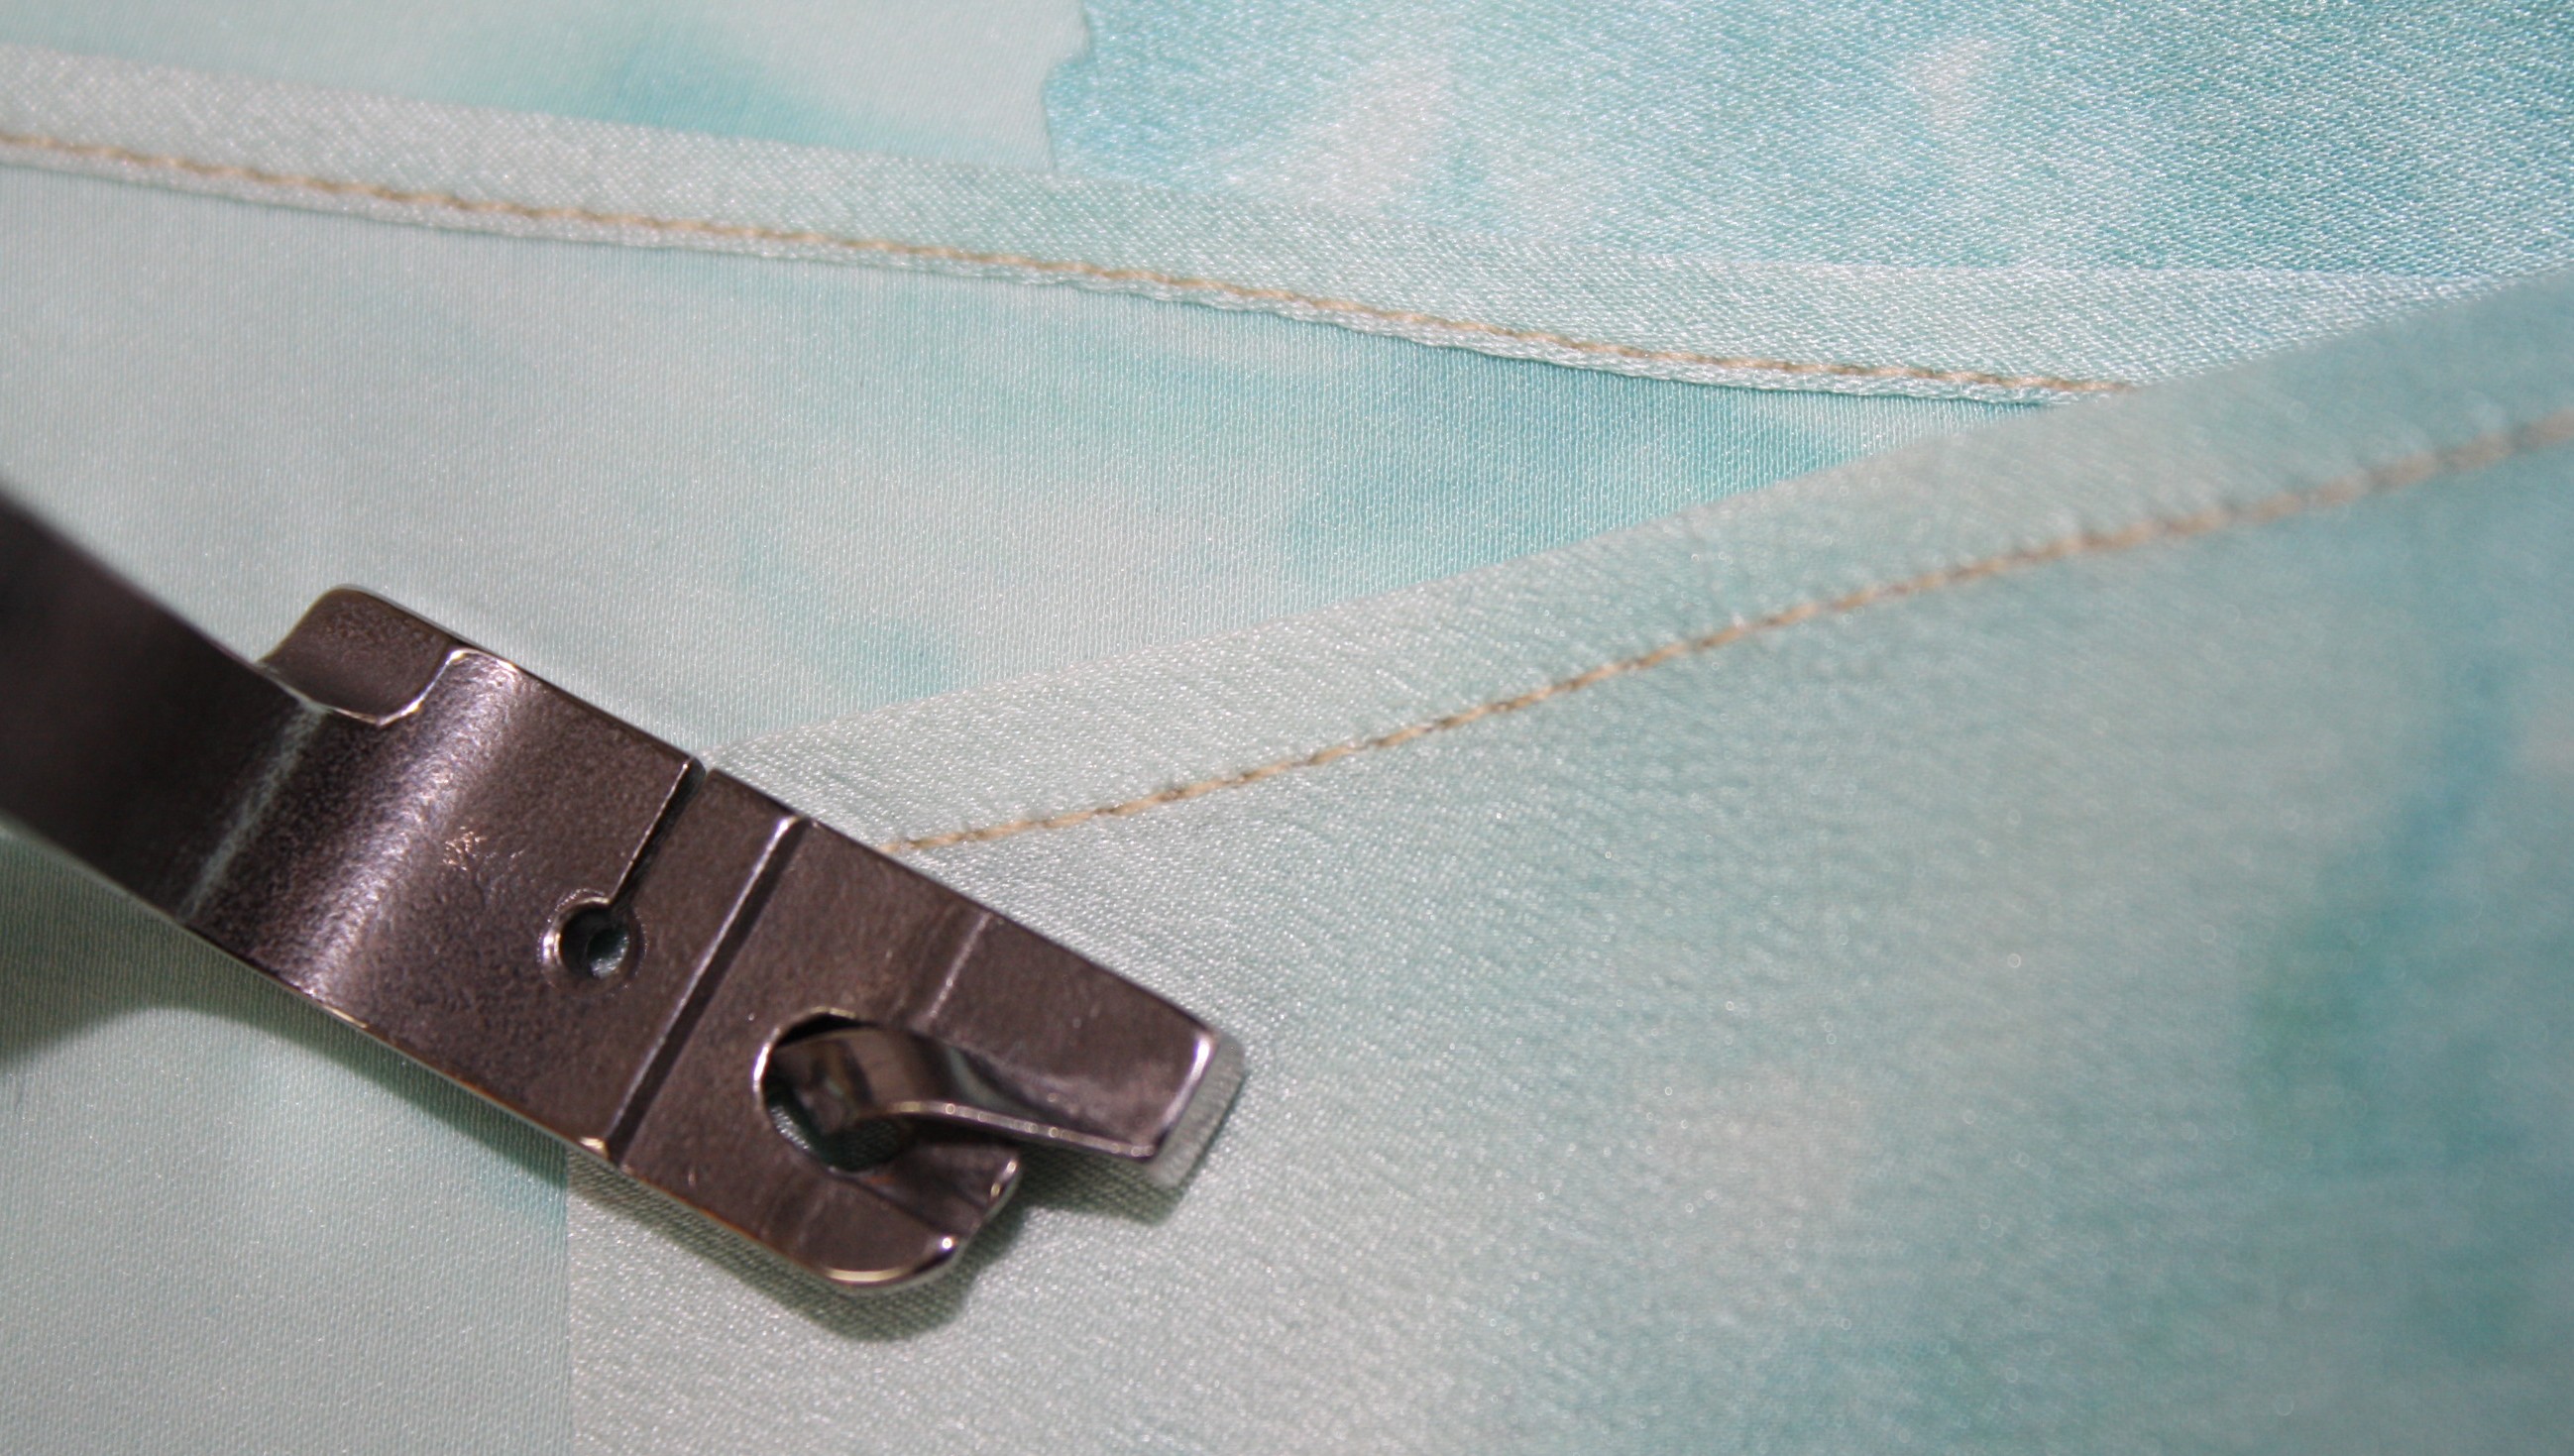
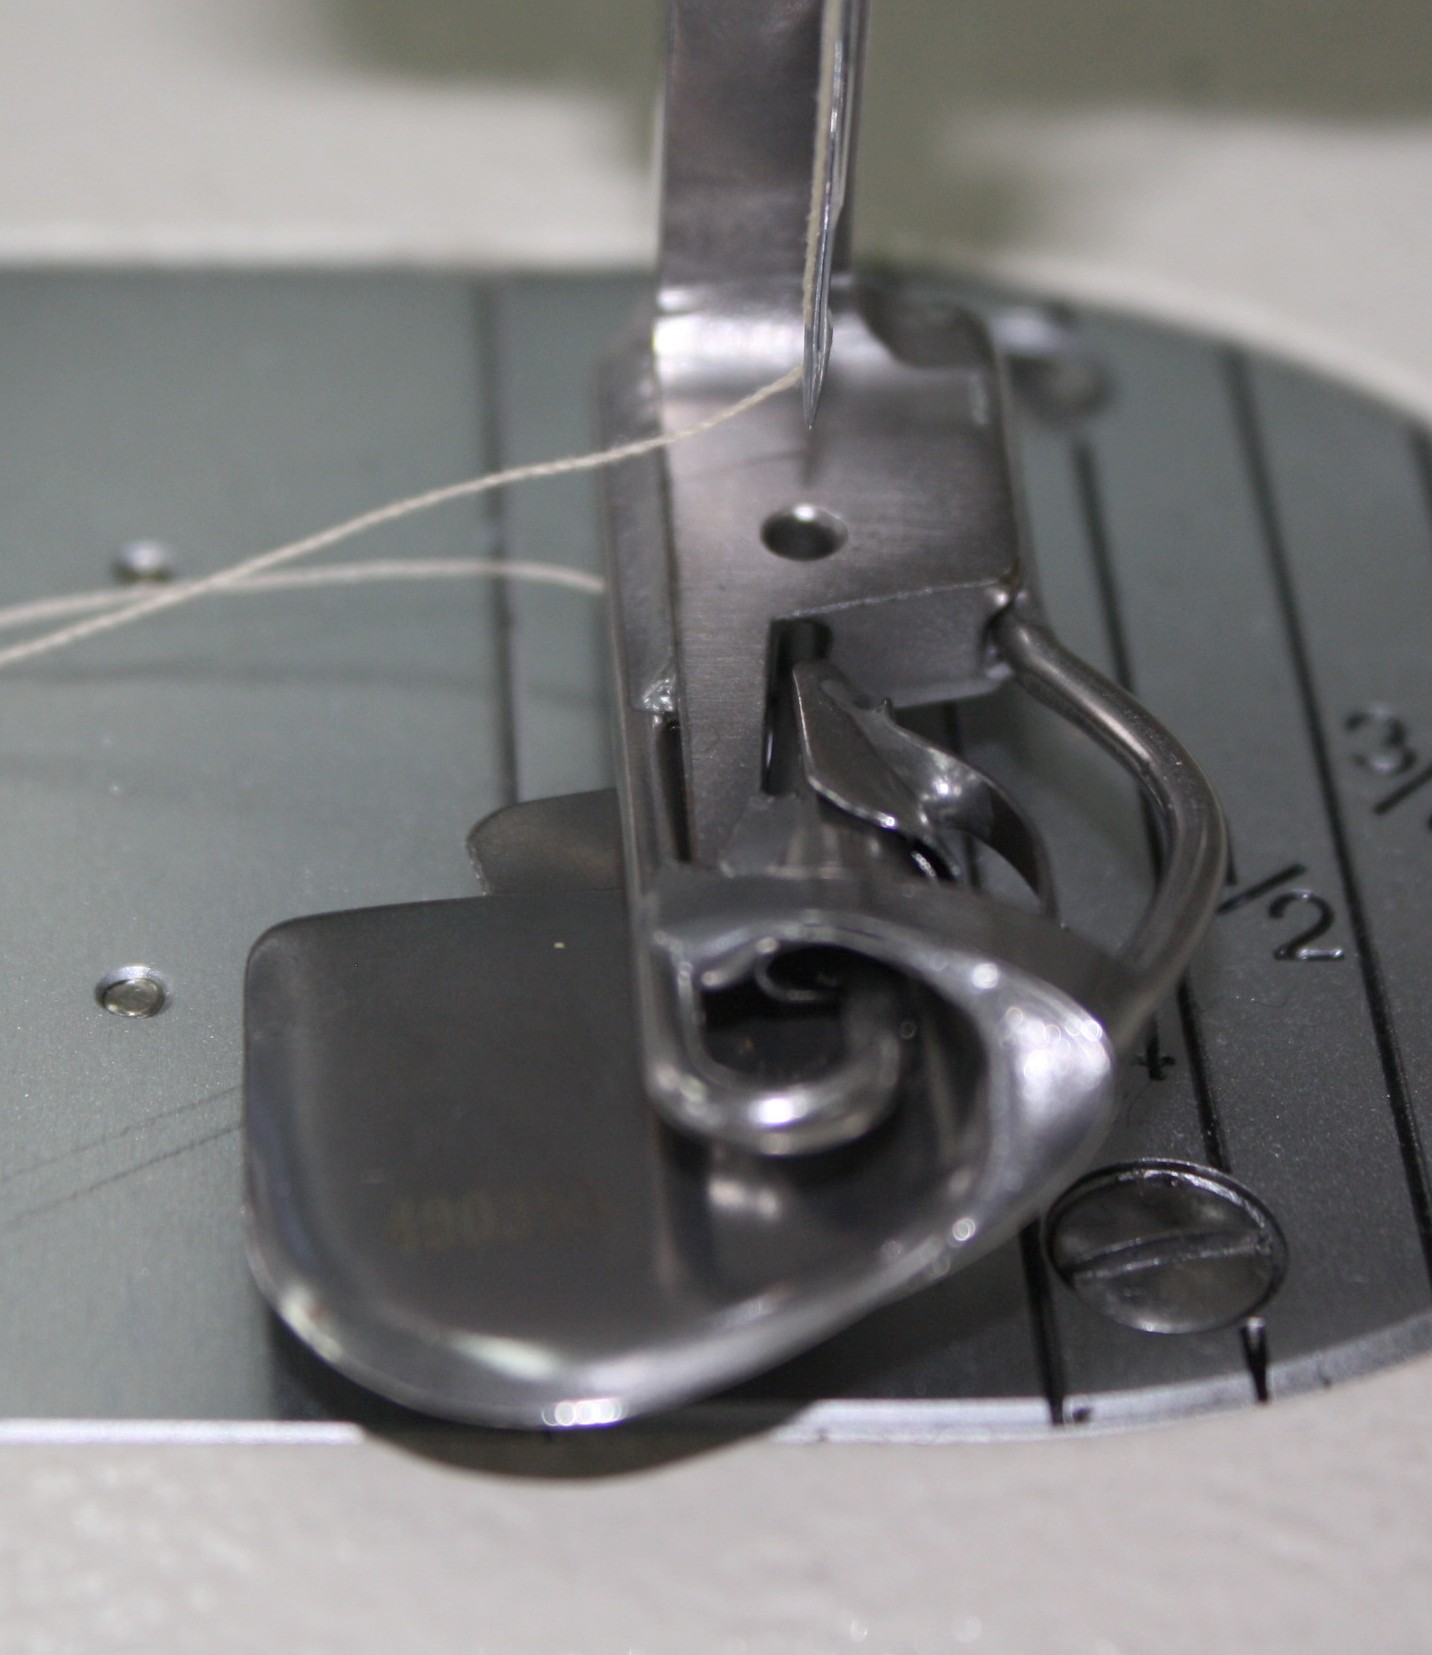
- From the center, align the edge of the presser foot with the first stitched line. Stitch a second row, and a third, and 4th, until you get to about 1″ from the edge of the stabilizer. (If your machine has a Laser Vision Guide, like my Brother Dreamweaver, this would be the perfect application!)


- Continue stitching rows along the entire length of the stabilizer until you have the desired width.
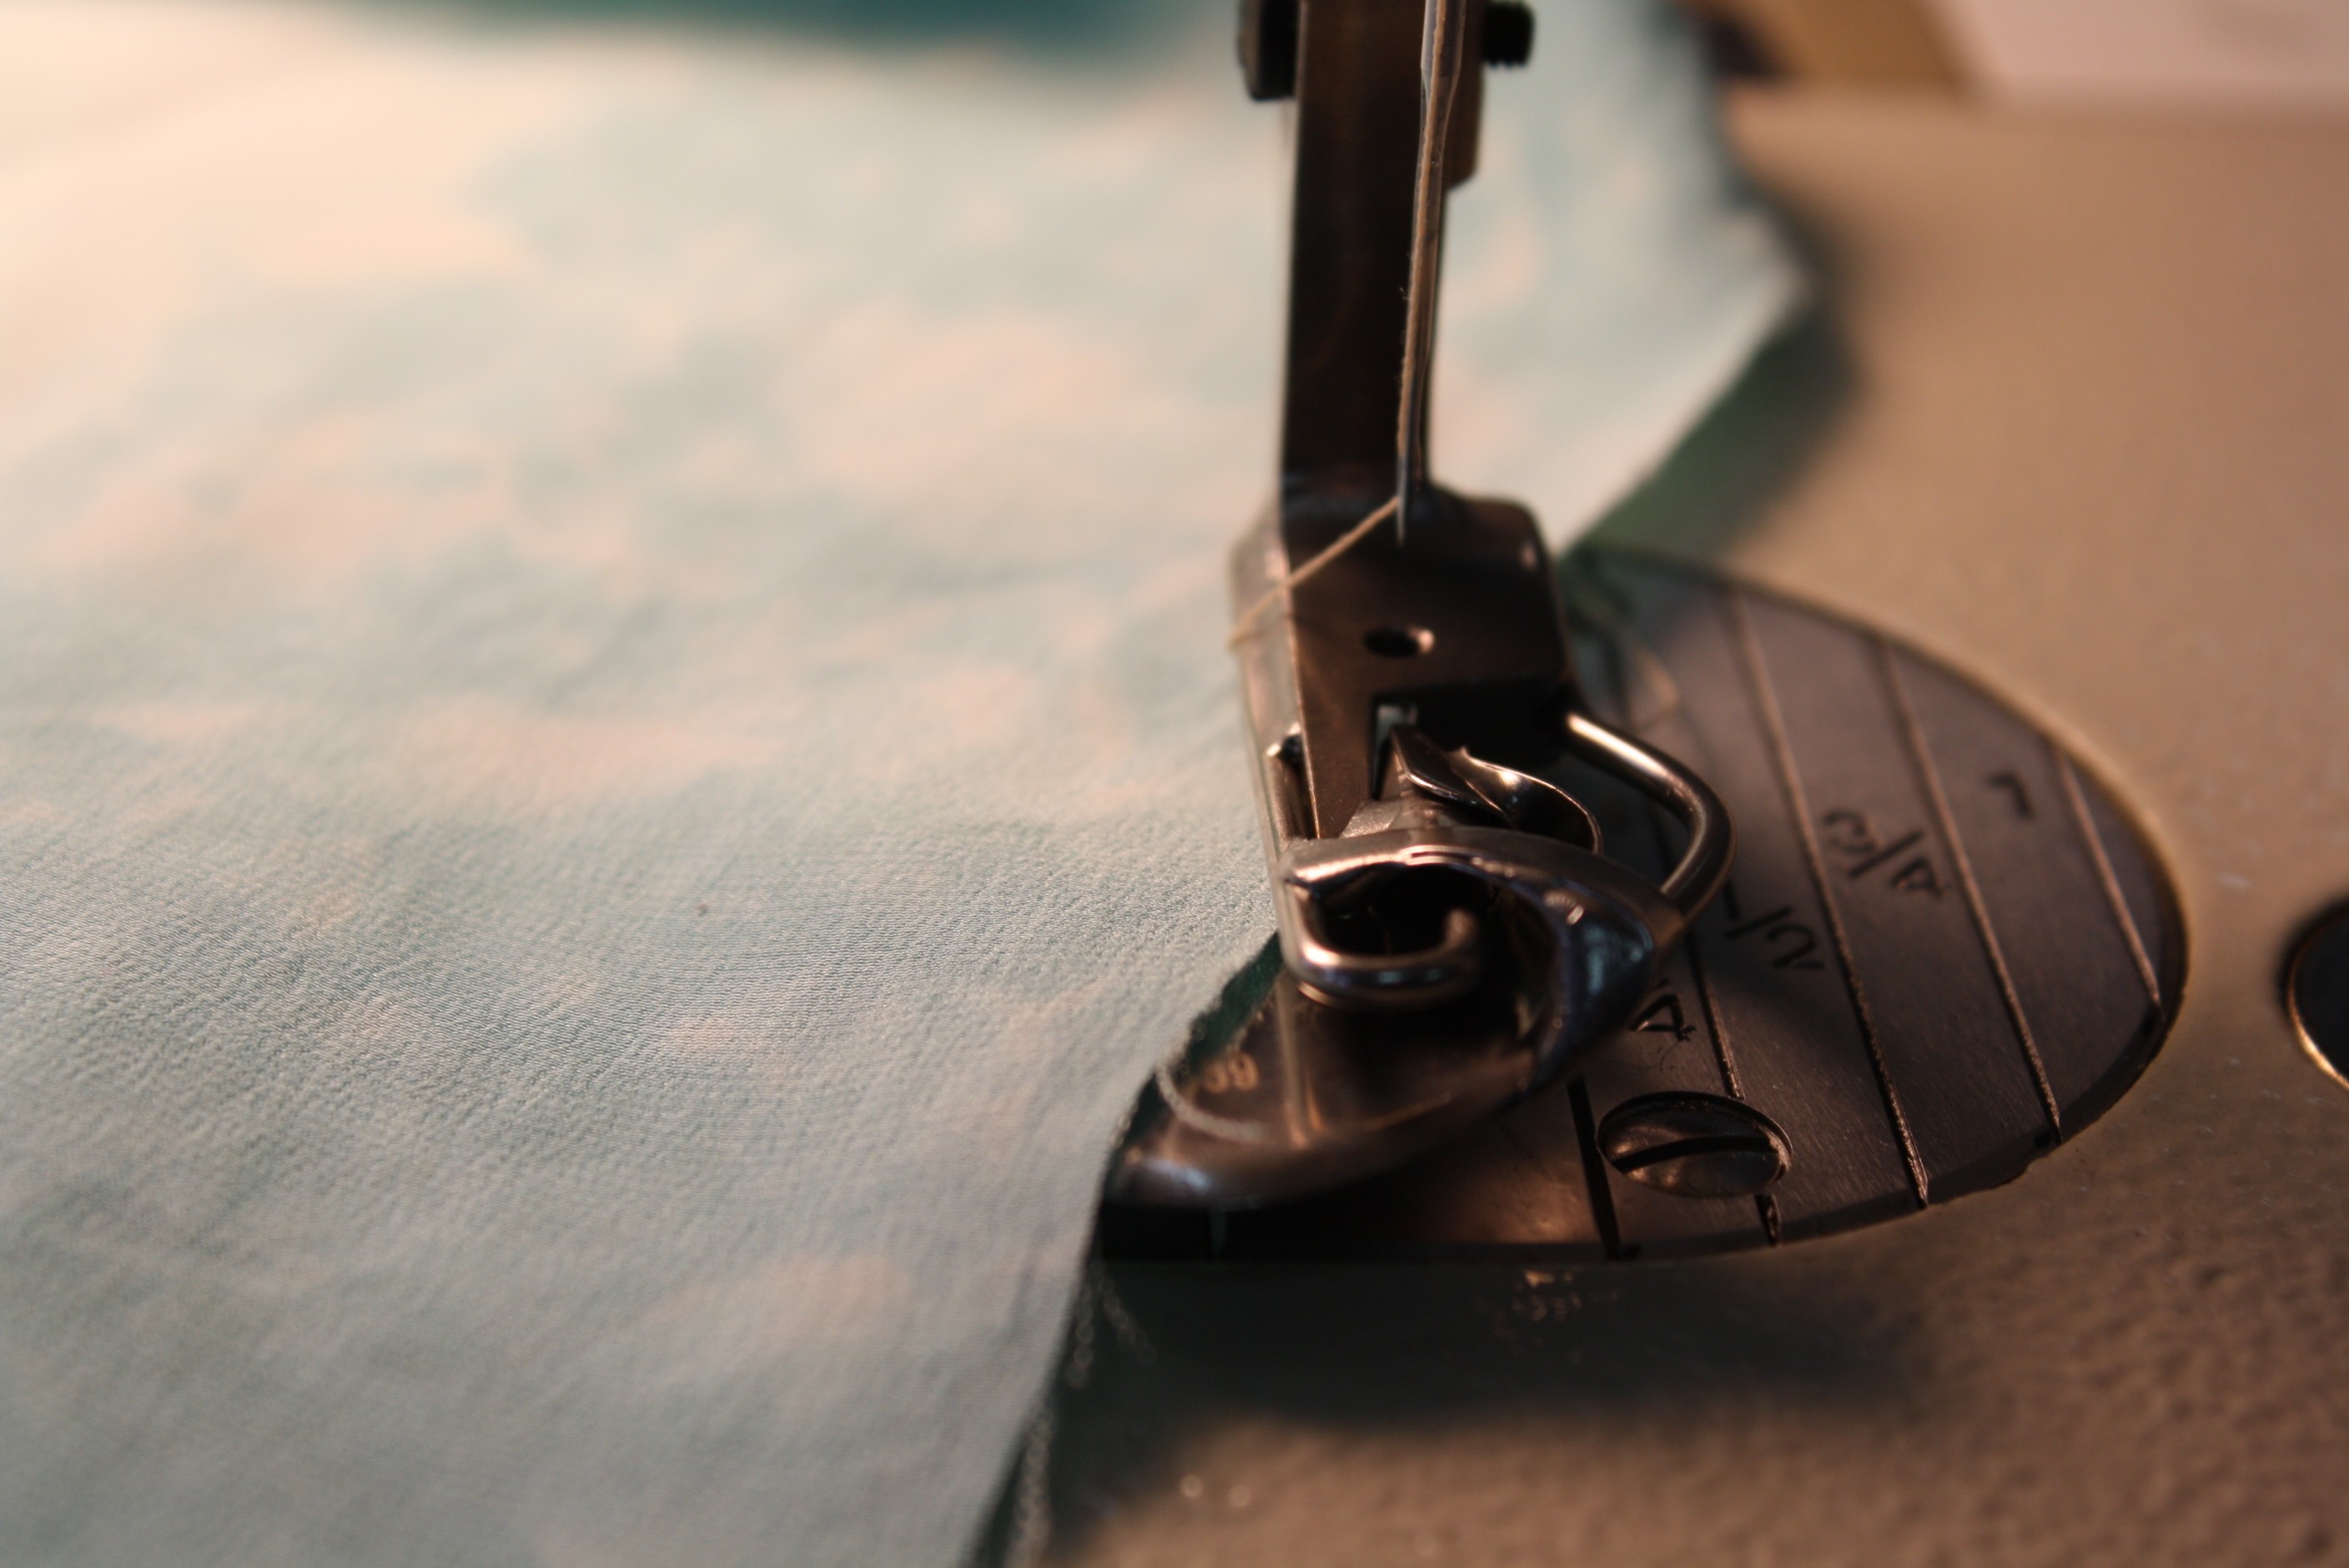
- Turn the fabric and stitch a row from side to side, across the width of the stabilizer.
- Continue to stitch row after row until the entire length is filled.


The width of the stitched rows depend on how tight you want the weave of the new fabric or lace. Just be sure to keep it somewhat tight or the yarns will fall away.


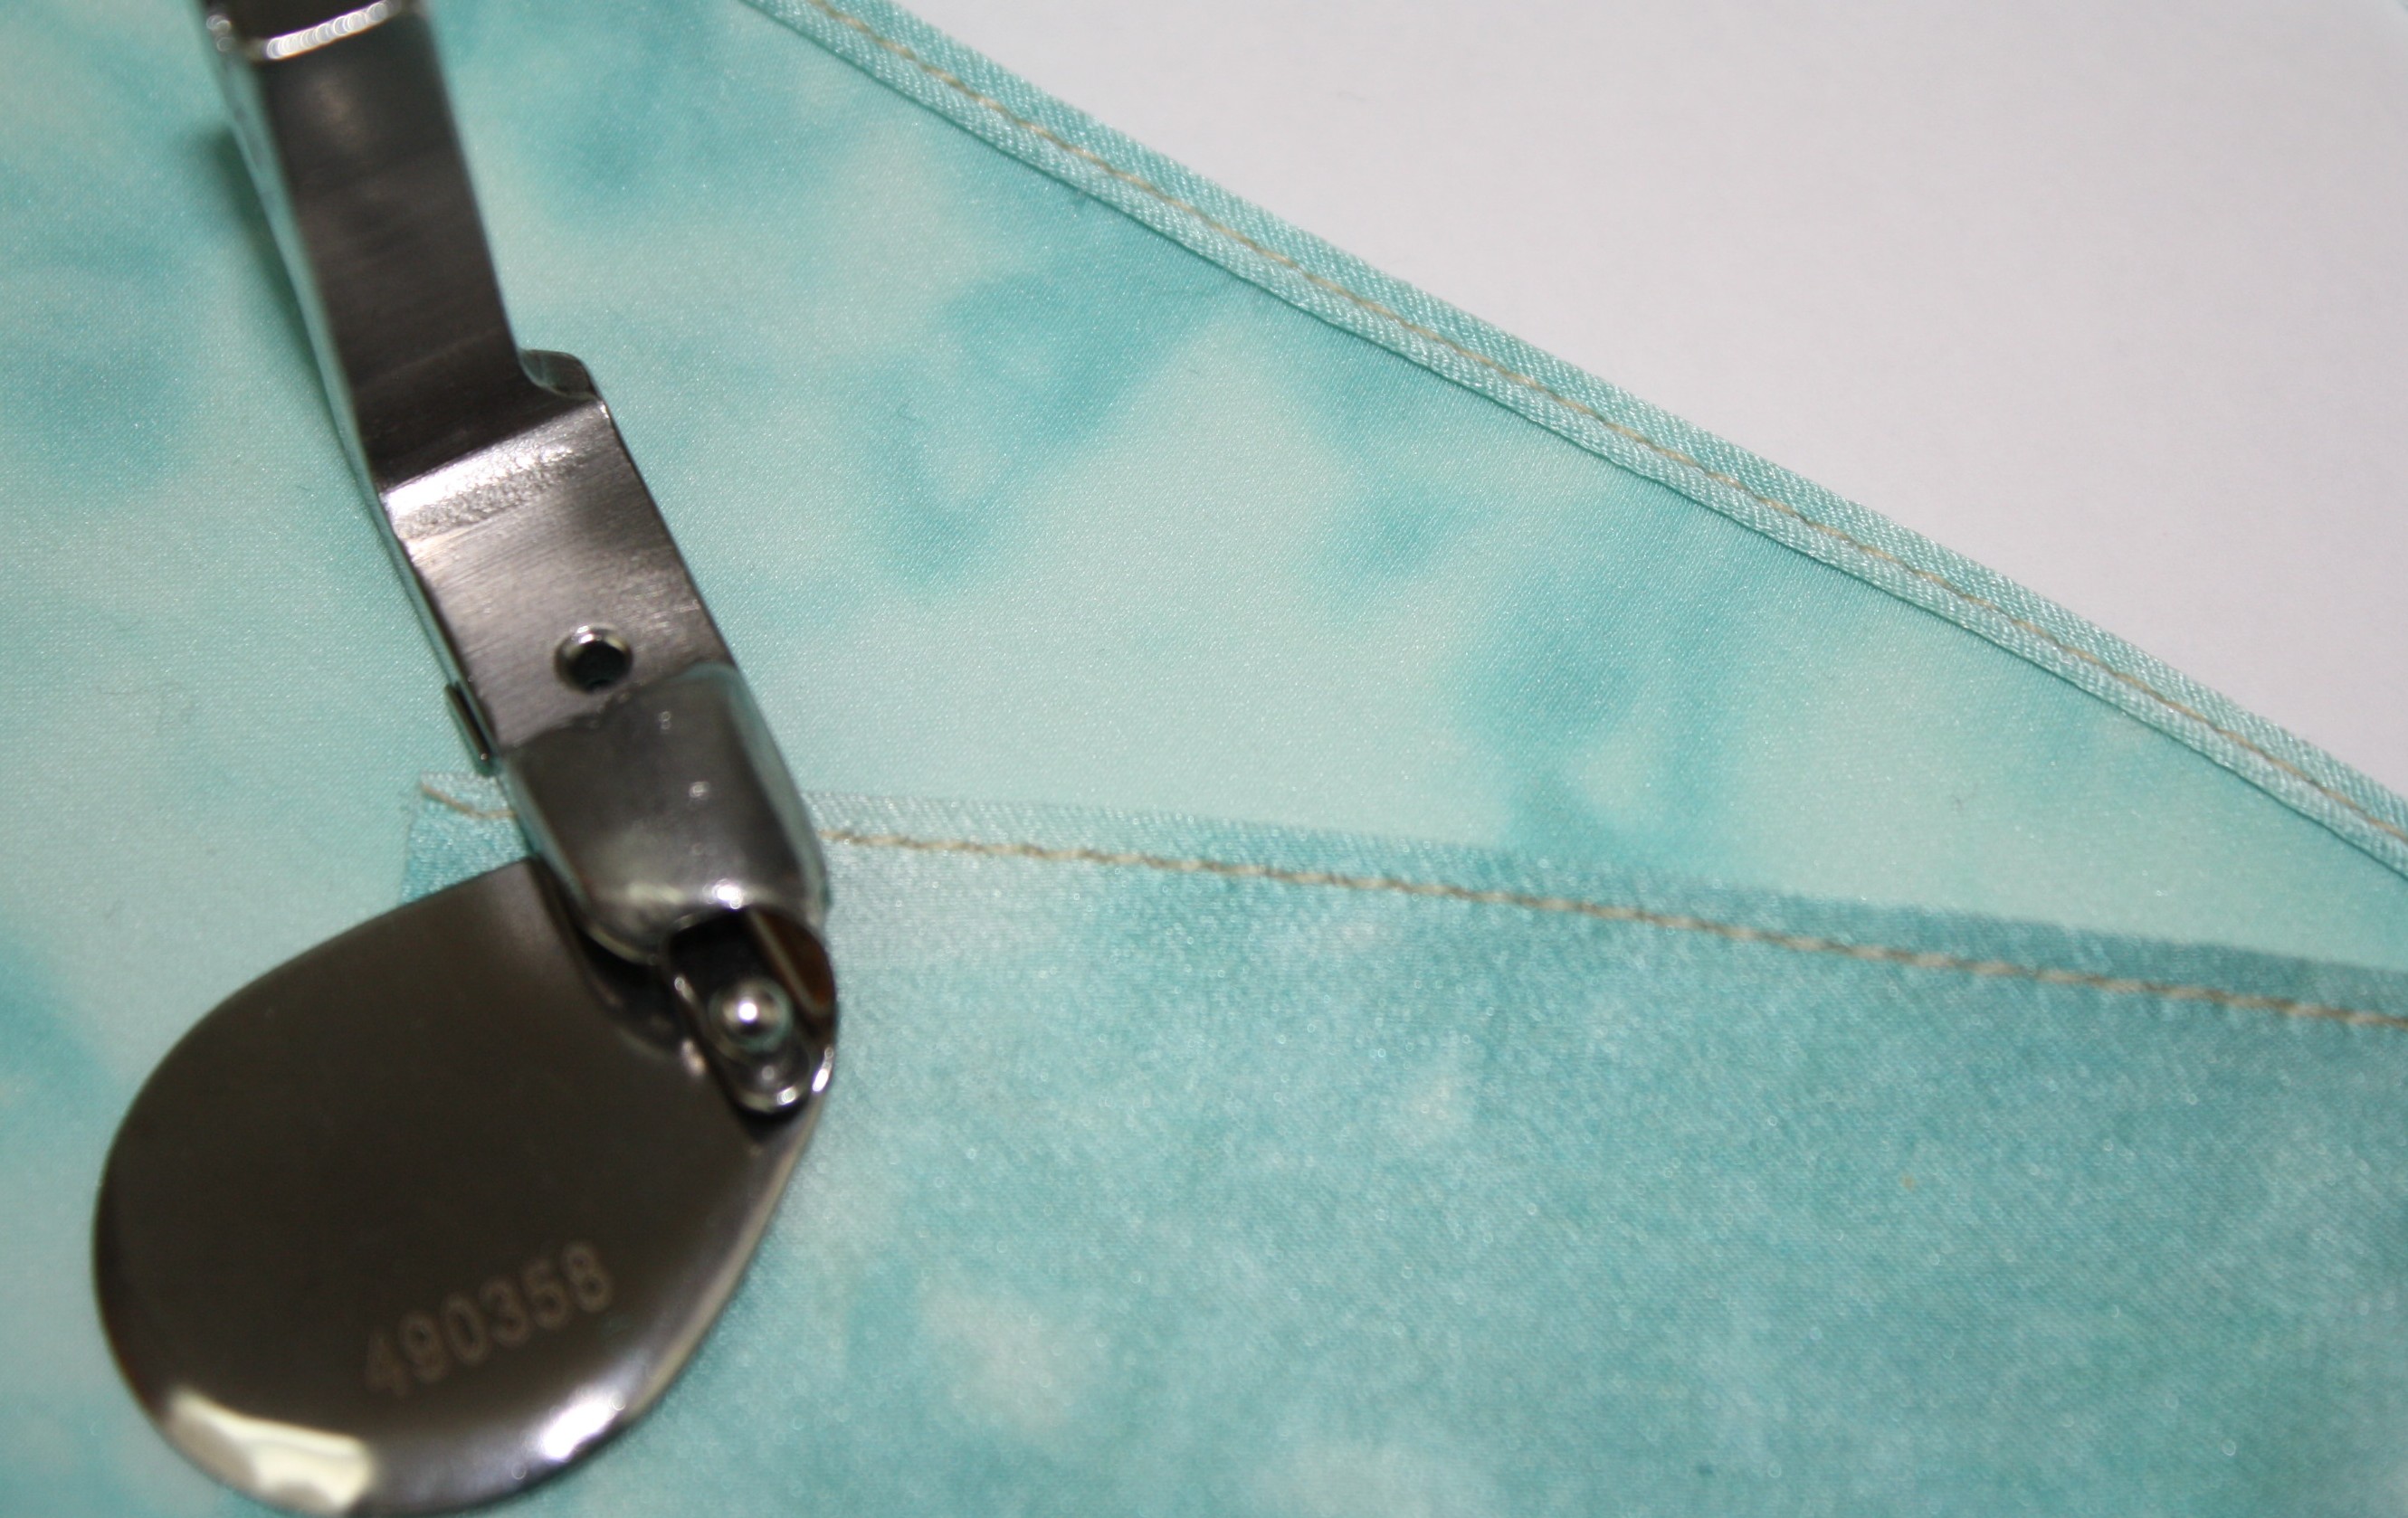
The next step is easy! Rinse the fabric panel in warm water and watch the water-soluble stabilizer disappear or throw the fabric in the wash on a hand-wash cycle, again with warm water.

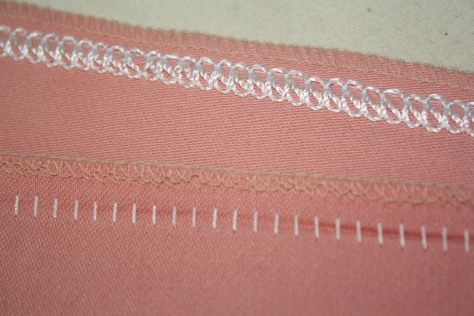
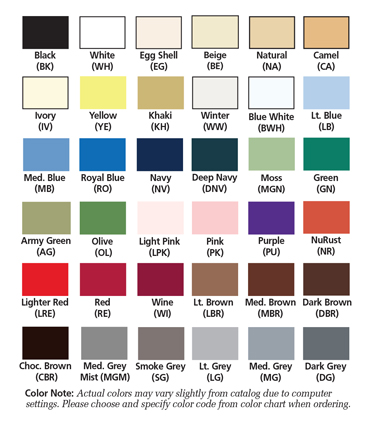
Above you can see the stabilizer has disappeared and I am left with a loosely woven fabric. Notice the stitching lines, this is good to keep in mind when you choose the thread color.


Who would have ever guessed
our scraps
could go so far!
A few more tips:
- Throw the fabric in the dryer to soften the hand
- The stabilizer and yarns shrink up after washing and drying, keep that in mind if you need a specific length.
- The more yarn and scraps, the thicker the fabric
- To make an outfit, stitch all the pieces together before washing out the stabilizer

This is a great technique to use for June’s Fabricate Challenge – which I extended the deadline until July 31st.
Have you ever tried this? If so, please share any tips you might have!
Cheers,


 Decorative Thread Ideas:


