I have moved my blog to http://www.FashionSewingwithAngelaWolf.com
You can also sign up for my newsletter by clicking here!
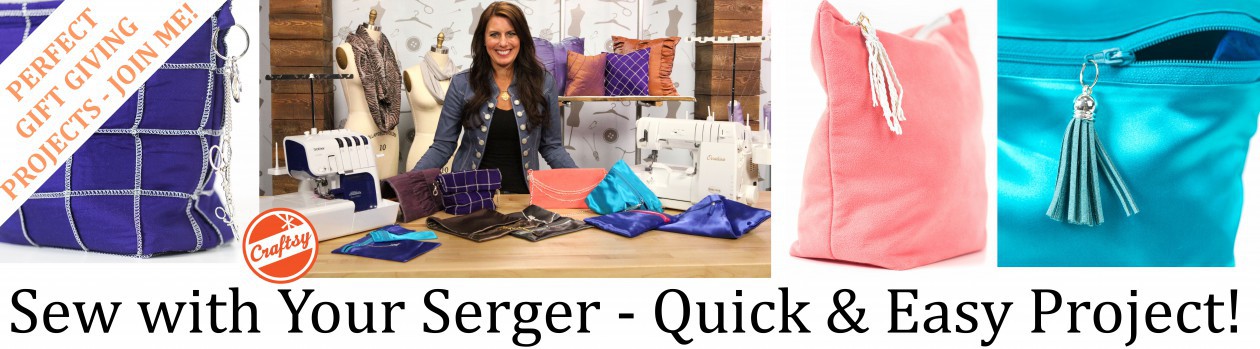
Join me!

I have moved my blog to http://www.FashionSewingwithAngelaWolf.com
You can also sign up for my newsletter by clicking here!
Join me!
